Ice Fishing in Minnesota: Complete Beginner-to-Pro Guide
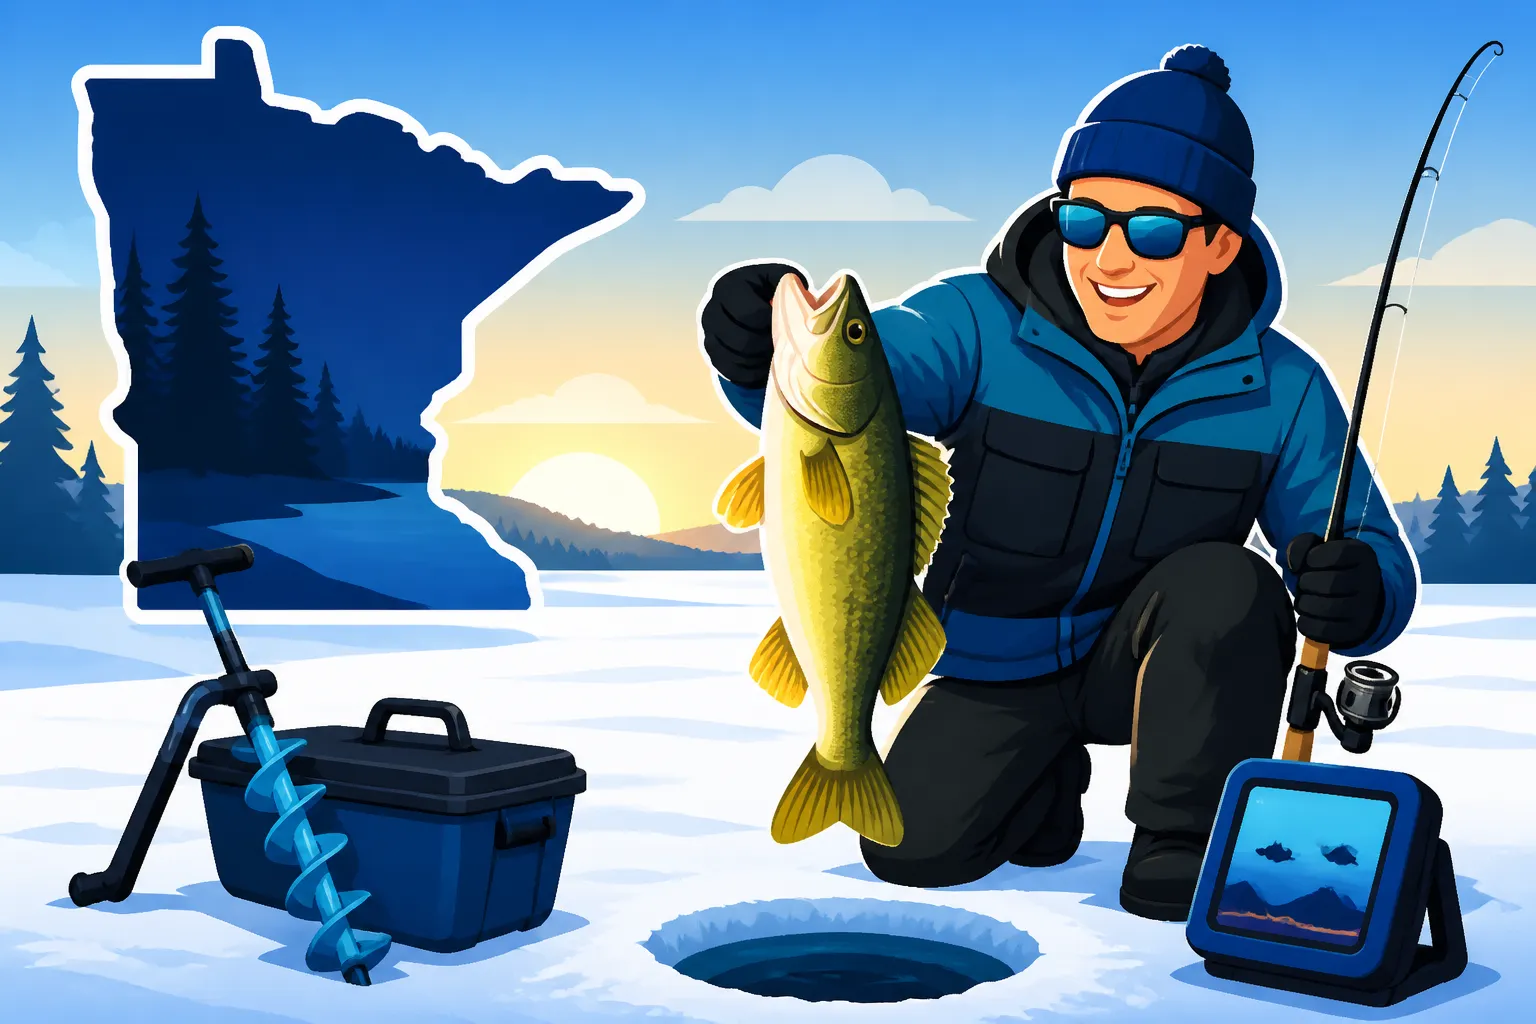
Staring out at a frozen lake in the middle of January might seem like madness to anyone south of the Mason-Dixon line, but for us Minnesotans, it is the highlight of the year. The frustration of staring at gear you don't know how to use or wondering if the ice is even safe can keep a lot of folks on the couch. This guide solves that by breaking down everything from basic safety and gear to the pro-level tactics used on our legendary 10,000 lakes.
Getting Started with Minnesota Ice Fishing
There is a specific kind of magic that happens when you're sitting in a small shack, the wind is howling at thirty miles per hour outside, and you’re cozy inside watching a tiny neon jig on your flasher. But before you can get to that point, you have to overcome the intimidation factor. It’s not just about being cold; it’s about understanding a completely different environment. Ice fishing requires a shift in mindset because you aren't casting into open water; you are hunting through a thick ceiling of ice.
For many beginners, the first hurdle is simply knowing where to start. You see the "ice cities" on lakes like Mille Lacs and wonder how those people know exactly where to park. The truth is, most of them started exactly where you are—feeling a bit overwhelmed by the gear and the conditions. We’re going to walk through the essential first steps so you don’t feel like a fish out of water when the temperature drops.
Understanding Ice Safety and Minnesota Conditions
Safety is the absolute, non-negotiable first priority. I’ve seen too many people get overconfident in December or late March, and the results can be devastating. In Minnesota, our ice conditions vary wildly from the North Shore down to the Iowa border. Generally, we look for four inches of clear, solid "blue" ice for walking, and at least five to seven inches for a snowmobile or ATV. If you’re planning on bringing a small vehicle, you really want closer to a foot of solid ice.
I always tell people to carry a pair of ice picks around their neck. It’s one of those things you hope you never use, but if you do go through, they are the only way you’re getting back up onto the slick surface. You should also be checking the ice thickness yourself with a chisel or an auger every fifty feet as you move out. Never assume that because someone else is out there, the ice is safe. They might be taking a risk you aren't prepared for.
Lastly, pay attention to the "boom" of the lake. When the ice is growing, it cracks and groans. It’s an eerie sound that can jump-start your heart, but it’s actually a good sign—it means the ice is thickening. However, stay away from areas with moving water, like inlets, outlets, or narrows where current can eat away at the ice from underneath, making it much thinner than the surrounding areas.
Essential Licenses and Regulations
You can’t just walk onto a lake and start drilling holes without doing your homework on the legal side. Minnesota has very specific rules that can change depending on which lake you’re on. First and foremost, you need to ensure you have a valid license. You can find all the details in the Minnesota Fishing License: Cost, Types & How to Buy (2026) guide. If you're a resident, it's pretty straightforward, but if you’re coming from out of state, the rules are a bit different.
Beyond the license, you have to be aware of the "possession limits." This is where a lot of beginners get into trouble with the DNR. It’s easy to get caught up in a hot crappie bite and realize you’ve kept more than the legal limit. Each lake might have its own special regulations, especially our "premier" lakes. For example, if you’re heading to one of our largest inland waters, you must check the Mille Lacs Lake Fishing Rules & Limits to see what the current slot sizes are for walleye.
Don't forget about your shelter, too. If you leave a shack out overnight, it needs to be licensed, and you have to have your ID or MNDNR number displayed on the outside. There are also very strict dates for when these houses must be off the ice in the spring. Missing the Ice Shelter Removal Deadlines in Minnesota can result in some pretty hefty fines, not to mention the environmental disaster of a shack sinking into the lake during the thaw.
Choosing the Right Time of Day
In the summer, you can often find a bite somewhere at noon, but in the winter, the "golden hour" is king. For walleye, that 30-minute window right at sunrise and sunset is when the magic happens. The fish move from the deep water up onto the flats or reefs to feed, and if you aren't ready, you’ll miss the whole show. I like to be on the ice, holes drilled, and heater humming at least an hour before the sun goes down.
During the middle of the day, things usually slow down for the bigger predators, but that’s the perfect time to target panfish. Bluegills and crappies are much more active during the daylight hours than walleye or burbot. If you’re taking kids out, mid-day is actually better because it’s warmer and the action is more consistent, which keeps them from getting bored and wanting to head home after twenty minutes.
If you’re feeling adventurous, night fishing can be incredible, especially for crappies or "eelpout" (burbot). Crappies often suspend in the water column at night, and they’ll show up as bright lines on your electronics. It takes a bit more preparation to stay safe and warm after dark, but there is nothing quite like the silence of a frozen lake under a full moon.
Must-Have Gear for the Frozen Tundra
One of the biggest mistakes I see is people buying the cheapest gear possible just to "test the waters." I get it—ice fishing is expensive. But there is a difference between being frugal and being miserable. If your boots leak or your auger won't start, you aren't going to have a good time. You don't need the top-of-the-line version of everything, but you do need gear that is reliable in sub-zero temperatures.
I often tell people to browse for accessories on Amazon for things like rod holders, tackle boxes, or even extra heater hoses. You can save a lot of money there on the "small stuff" so you can invest more into your big-ticket items like your flasher or your shelter. Having a solid base of gear is what separates the people who go out once a year from the people who are out every single weekend.
Selecting Your First Ice Auger
The auger is your most important tool. Without it, you’re just standing on a very expensive skating rink. Back in the day, we all used heavy gas-powered augers that smelled like exhaust and took ten pulls to start. Thankfully, those days are mostly gone. Electric augers have completely changed the game. They are light, silent, and start with the push of a button.
When choosing an auger, the size of the flight (the drill bit) matters. A 6-inch hole is perfect for panfish and easier to drill, but if you’re targeting big northern pike or walleye, you really want an 8-inch or even a 10-inch hole. I usually recommend an 8-inch as the "do-it-all" size for Minnesota. It’s big enough to pull a trophy through but not so big that it's a safety hazard for a small child to step into.
Maintenance is key, regardless of what you buy. Always keep your blades sharp. Trying to drill a hole with dull blades is an exercise in futility and will burn out an electric motor or your back in record time. If you’re looking for specific recommendations, check out our Best Ice Augers for Minnesota: Electric vs Gas guide for a deep dive into the pros and cons of each brand.
Portable vs. Permanent Shelters
This is the classic Minnesota debate. A permanent "wheelhouse" is basically a camper on skis. It has beds, a stove, and often a TV. It’s the ultimate way to fish in comfort, especially if you have a family. However, you are limited in where you can go. Once you park that thing, you’re likely staying there for the weekend. If the fish move, you’re stuck fishing in a "dead" spot.
Portable shelters, usually "flip-over" or "hub" styles, give you the freedom to move. I’m a huge fan of the flip-over style because it's built into a sled. You can throw all your gear in the sled, pull it with an ATV or by hand, and be fishing in a new spot in five minutes. If you’re a beginner, a hub-style shelter is often the most cost-effective way to get started. You can find great deals on these on Amazon, and they offer a ton of room for the price.
The downside of a hub is the setup time. You have to pop out the walls and anchor it down so it doesn't blow across the lake like a giant kite. If you want to see a side-by-side comparison of the top brands, take a look at Clam vs Otter Ice Shelters: Which Is Better?. Both have their loyalists, and both will keep you out of the wind, which is 90% of the battle.
Electronics: Flashers and LiveScope
If you want to catch more fish, you need to see them. Fishing without electronics is "blind fishing." You’re just dropping a lure down and hoping something is there. A flasher uses sonar to show you exactly where your lure is and if there’s a fish looking at it. It turns the whole experience into a video game. You see a "flicker" on the screen move toward your jig, you twitch it, and—thump—you've got him.
In recent years, "forward-facing sonar" like Garmin LiveScope has taken over. Instead of just seeing a 2D line, you can see the fish swimming in real-time. You can see which direction they’re heading and how they react to your bait. It’s an incredible tool, but it's also very expensive. For a beginner, a traditional flasher is more than enough to get the job done and is much easier to learn.
If you’re confused about the different types of sonar, you aren't alone. It’s a lot of jargon to wade through. I recommend reading Best Ice Fishing Flashers: Vexilar vs Humminbird vs Garmin to get a feel for what fits your budget and fishing style. Personally, I still love my old Vexilar; it’s indestructible and the battery lasts forever, but there’s no denying the power of the newer tech.
Specialized Techniques for Minnesota's Most Popular Species
Every fish species in Minnesota behaves differently under the ice. A technique that works for a hungry pike will probably scare away a finicky crappie. As you transition from beginner to pro, you’ll start to realize that "ice fishing" isn't just one sport—it’s a dozen different disciplines depending on what’s on the other end of the line.
You have to learn to "read" the fish through your rod tip and your electronics. Sometimes they want a fast, aggressive jigging motion to call them in from a distance, and other times they want the bait to sit perfectly still. This "dance" is what makes the sport so addictive. Let's look at how to target the big three.
Chasing Walleye on the Mud Flats
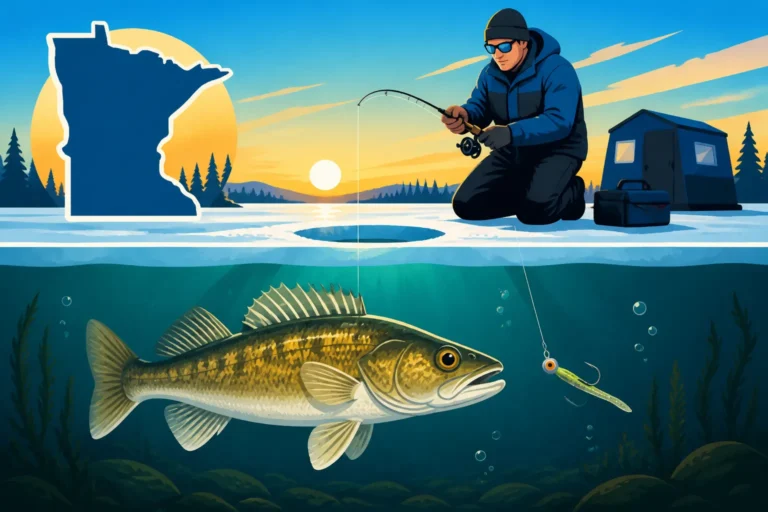
Walleye are the "holy grail" for most Minnesota anglers. They are delicious, challenging to catch, and grow to impressive sizes in our waters. In the winter, they love structure. Look for underwater points, drop-offs, or the famous "mud flats" of Mille Lacs. They use these areas as highways to move from deep water to shallow feeding grounds.
The go-to setup is a "two-pronged attack." In one hole, you have an active jigging rod with a spoon or a Jigging Rap. This is your "call" bait; the flash and vibration attract fish from twenty feet away. In the second hole, just a few feet away, you have a "deadstick." This is a plain hook or a small jig with a live minnow under a slip bobber. Often, a walleye will come in to look at the aggressive spoon and then turn around and eat the easy meal on the deadstick.
If you’re just starting out, learning How to Catch Walleye Through the Ice in Minnesota is the best place to begin. It covers the specific knots and bait presentations that work in our stained water versus our clear water lakes. Remember, walleye have incredible eyesight, so in clear water, you might need to drop down to a lighter fluorocarbon leader to keep them from getting "line shy."
Panfish Tactics: Crappie and Sunfish
If you want action, panfish are the answer. On a good day, you can catch dozens of "slabs" in a single afternoon. The key with panfish is finesse. You aren't using big minnows here; you're using tiny tungsten jigs tipped with a "wax worm" (bee moth larva) or a plastic nymph. Because these lures are so small, you need a rod with a very sensitive tip, often called a "noodle rod."
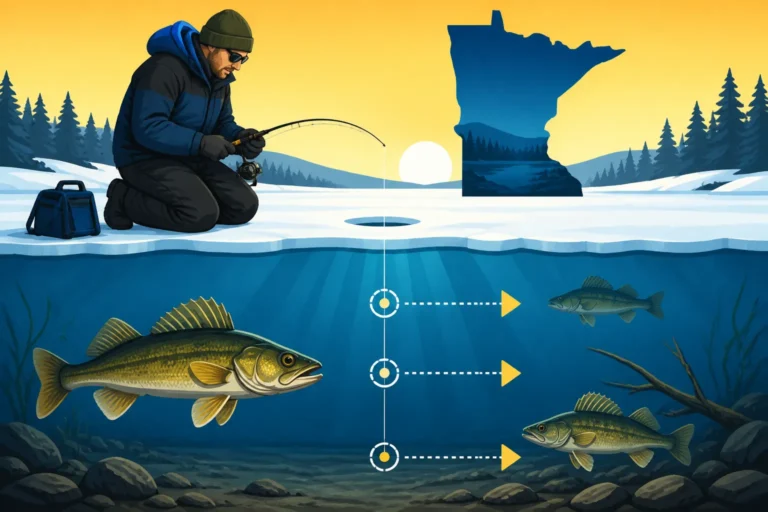
Crappies are famous for "suspending." Unlike walleye, which usually hug the bottom, crappies might be ten feet off the bottom in twenty feet of water. This is where your flasher is essential. If you see a mark high in the water column, reel up to it. If you drop your bait below them, they will rarely swim down to get it. You always want your lure to be slightly above the fish.
For more detailed strategies, including how to find the "weed line" where these fish hide, check out How to Catch Crappie Through the Ice in Minnesota. It’s a game of inches with panfish. Sometimes changing your jig color from chartreuse to pink is the only thing that will trigger a bite.
Tip-Ups for Northern Pike
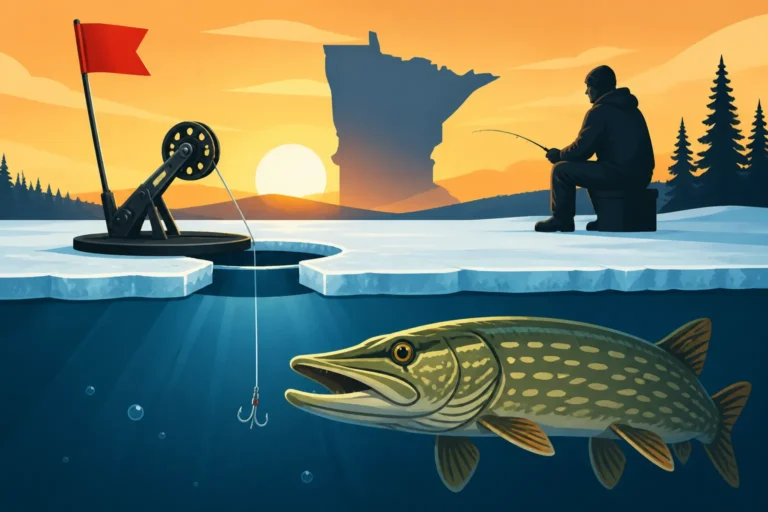
Pike fishing is a blast because it’s a "waiting game" that turns into a full-out sprint. A tip-up is a device that sits over the hole with a spool of line underwater. When a fish grabs the bait, it trips a flag that pops up. There is nothing quite like the rush of sitting in your warm shack and seeing a bright orange flag pop up fifty yards away.
For pike, we use big baits—dead ciscoes, large golden shiners, or even suckers. Pike are the apex predators of the lake, and they aren't looking for a snack; they want a meal. Set your tip-ups along the edges of weed beds in 5 to 15 feet of water. When the flag goes up, don't just run over and yank the line. Walk quietly, check if the spool is turning, and then set the hook by hand.
Since you are dealing with a fish that has a mouth full of razor blades, you need to use a wire leader or a very heavy fluorocarbon leader (30lb+). If you're looking for the best spots to find these "water wolves," take a look at the Minnesota Northern Pike Limits by Zone to make sure you’re fishing in an area known for size or numbers, depending on what you’re after.
Comparison of Ice Fishing Methods
| Method | Target Species | Gear Required | Best For |
|---|---|---|---|
| Jigging | Walleye, Perch, Panfish | Jigging rod, Flasher, Spoons/Jigs | Active searching and "triggering" bites |
| Deadsticking | Walleye, Trout | Sensitive rod, Live bait, Slip bobber | Finesse fishing for wary or neutral fish |
| Tip-Ups | Northern Pike, Walleye | Tip-up device, Large live/dead bait | Covering large areas and socializing |
| Spearing | Northern Pike | Darkhouse, Spear, Decoys | Traditional harvest; requires a "darkhouse" |
Finding the Best Ice Fishing Spots in Minnesota
You can have $5,000 worth of gear, but if you’re fishing in a "dead" spot, you’re just having an expensive sit in the cold. Minnesota is blessed with variety. We have shallow, fertile lakes in the south, massive "inland seas" in the center, and deep, crystal-clear lake trout waters in the north. Where you go depends entirely on what kind of experience you want.
If you’re new to the state or just looking to try a new region, it helps to narrow your focus. Many people stick to the same lake for thirty years, but the best anglers are always scouting. Here is a breakdown of the regions that make Minnesota a world-class ice fishing destination.
The Big Lakes: Mille Lacs and Lake of the Woods
These are the "factories." Mille Lacs is legendary for its walleye and world-class smallmouth bass, though the regulations there can be tight. It’s a very accessible lake with dozens of resorts that plow "ice roads" for you to drive your truck out on. If you want the classic Minnesota experience, this is it. You can learn more in the Mille Lacs Lake Fishing Guide: Walleye, Bass & More.
Then there is Lake of the Woods, the "Walleye Capital of the World." Located on the border with Canada, this lake is massive. The primary way people fish here is by renting a "sleeper house" from a resort. They drive you miles out onto the lake in a specialized vehicle, drop you off in a heated shack with holes already drilled, and you fish for three days straight. It’s an incredible bucket-list trip. Check out the Lake of the Woods Fishing Guide for planning tips.
These lakes are so big they create their own weather patterns. Always check the forecast and talk to local bait shops before heading out. A "whiteout" on Lake of the Woods is no joke—you can lose your sense of direction in seconds if you aren't prepared with a GPS or a reliable map app on your phone.
Twin Cities Metro Options
You don't have to drive four hours north to find great fishing. The Minneapolis-St. Paul metro area has some surprisingly good "action lakes." Lake Minnetonka is the obvious choice, offering everything from trophy northern pike to massive crappies. Because it's so large and has so many bays, you can usually find a spot away from the crowds if you're willing to walk a bit.
Other great metro spots include White Bear Lake and Prior Lake. These lakes get a lot of pressure, so the fish can be a bit more "educated." This is where your finesse techniques really come into play. Using smaller jigs and lighter lines is often the secret to success in the metro. It’s a great way to get a few hours of fishing in after work without the commitment of a long road trip.
If you're looking for a quick outing, I always suggest checking the Twin Cities Metro Fishing: Best Lakes Near Minneapolis & St. Paul guide. It’s amazing how many people live within ten minutes of a 10-inch crappie and don't even know it. Just be prepared for company—on a Saturday afternoon, these lakes can look like a parking lot.
Northern Minnesota Gems
If you want peace, quiet, and stunning scenery, head to the Boundary Waters (BWCA) or the lakes around Ely and Grand Rapids. These lakes are often much deeper and can be more difficult to fish, but the rewards are worth it. This is where you’ll find lake trout—a fish that fights harder than almost anything else under the ice.
Lake Vermilion is another northern powerhouse. It’s a complex lake with thousands of islands and rock reefs. It’s a navigator's nightmare but an angler's dream. You can target walleye in the morning, pike in the afternoon, and crappies in the evening. It’s the kind of lake that takes a lifetime to truly master.
For those willing to make the trek, the Rainy Lake Fishing Guide offers a glimpse into a wilderness fishery that feels like stepping back in time. The fish there don't see nearly as many lures as the fish in Central Minnesota, so they tend to be much more aggressive. Just make sure your heater is working—it gets "Real North" cold up there.
Advanced Strategies: Moving from Beginner to Pro
Once you’ve mastered the basics of staying warm and catching the occasional fish, you’ll start to get the "itch" for something more. Pro-level ice fishing isn't about luck; it’s about efficiency and data. The pros are always moving, always tweaking, and always paying attention to the tiny details that others overlook.
To level up, you have to stop waiting for the fish to come to you and start going to them. This transition is usually when people start investing in better electronics and more specialized gear. It’s a shift from "fishing" to "hunting."
Hole Hopping and Aggressive Searching
The biggest difference between a beginner and a pro is the number of holes they drill. A beginner drills two holes and sits there for six hours. A pro might drill fifty holes in an hour. This is called "hole hopping." You drill a series of holes over a piece of structure—like a reef or a point—and you spend five minutes in each hole.
If you don't see a fish on your flasher within five minutes, you move to the next hole. You are looking for the "active" fish. In the winter, fish are lethargic and won't travel far for food. You have to put your bait right in front of their nose. This is where a lightweight electric auger and a portable sled are worth their weight in gold.
By moving constantly, you build a "mental map" of where the fish are holding. You might find that they are only on the transition where the sand turns to mud, or they might be tucked into a specific pocket of weeds. You’ll never find that "spot on the spot" if you stay sitting on your bucket all day.
Interpreting Sonar Signals
Anyone can see a red line on a flasher and know it’s a fish. A pro can tell you what kind of fish it is and what its mood is. Does the mark "flicker" or is it solid? A flickering mark often means the fish is moving quickly or is small. A rock-solid, wide band usually indicates a larger, more stationary predator like a walleye.
Pay attention to how the fish reacts to your jigging. If the fish zooms up to your bait and then immediately sinks back to the bottom, you’re being too aggressive. If it sits there and stares at it for three minutes, you might need to "downsize" your lure or change the color. Learning How to Read a Flasher (Vexilar/Humminbird) is a skill that takes time, but it’s the single biggest factor in increasing your catch rate.
Pros also use their electronics to find "bottom huggers." Sometimes a walleye is so tight to the bottom that it looks like a part of the lake bed. You’ll see the bottom "fuzz up" or get slightly thicker. That’s a fish. You have to lift your jig just an inch or two off the bottom to get that fish to separate and show itself on the screen.
Fine-Tuning Lure Presentation
The "dance" of the jig is an art form. Most beginners jig too much and too hard. In the winter, less is often more. You want to give the fish a reason to bite without scaring them off. Sometimes, just a slight quiver of the rod tip is all it takes to make the feathers or soft plastic on your jig look alive.
I always recommend having a variety of lure types. If the fish aren't hitting a noisy, vibrating spoon, switch to a silent tungsten jig with a tiny plastic tail. If you're buying lures on Amazon, look for kits that give you a range of colors and weights. Having options allows you to experiment until you find the "code" for that specific day.
One pro tip: always check your knot. In the cold, line can get brittle, and knots can slip. Also, make sure your lure is hanging perfectly horizontal. If your knot is pulled to the side, the jig will hang at an unnatural angle, and a smart fish will pass it by every time. Small details like this are what fill the bucket at the end of the day.
Dressing for Success: Staying Warm in Sub-Zero Temps
You can’t fish if you’re shivering. I’ve seen grown men cry because their toes went numb two miles out on a lake. In Minnesota, "staying warm" is a technical challenge. It’s not just about wearing a big coat; it’s about managing moisture and wind. If you sweat while drilling holes and that sweat cools down, you are going to be cold for the rest of the day.
This is the part of the guide where I get a bit "dad-like," but trust me, I’ve been there. I once spent four hours on Lake Winnibigoshish with a hole in my boot, and I wouldn't wish that on my worst enemy. Here is how to build a clothing system that actually works.
The Layering System Explained
Forget the heavy cotton hoodies. Cotton is the enemy of the ice angler because it holds moisture. You want a three-layer system. First, a "base layer" made of merino wool or synthetic material. This wicks sweat away from your skin. Second, a "mid-layer" like a fleece or a down vest to trap heat. Finally, an "outer shell" that is 100% windproof and waterproof.
The outer shell is where you should spend your money. Modern "ice suits" (bibs and a jacket) are incredible. Most of them now feature "float technology." If you do fall through the ice, the suit acts as a life jacket and keeps you on the surface. It’s a massive safety feature that gives you peace of mind, especially during early and late ice.
I often tell people to keep an extra set of dry socks and a light base layer in their truck. If you do get sweaty or wet during the setup, changing into dry clothes will reset your internal clock and let you stay out for another five hours. It’s a simple trick that most pros swear by.
Proper Footwear and Hand Protection
Your feet are in direct contact with the ice, which is 32 degrees or colder. Standard hiking boots will not work. You need "pac boots" with thick felt or foam liners, rated for at least -40 degrees. Brands like Baffin or Muck are popular in Minnesota. Make sure they aren't too tight; you need a little bit of air space around your toes to keep the circulation going.
For hands, it’s a constant battle. You need gloves to stay warm, but you need your fingers to tie knots and handle fish. Most pros use a "mitten and liner" combo. Wear thin, touch-screen compatible liners for doing technical work, and keep big, heavy mittens on a string around your neck to shove your hands into while you're waiting for a bite.
Chemical hand warmers are another "pro secret." I buy them in bulk on Amazon and keep them in every pocket. Tossing one in your boots and one in each mitten can turn a miserable day into a comfortable one. Just don't put them directly against your skin; they can actually get hot enough to cause a mild burn if they're trapped tight.
Staying Fueled and Hydrated
Ice fishing burns a surprising amount of calories. Your body is working overtime just to maintain its core temperature. If you don't eat, you'll get cold faster. I like to bring "heavy" snacks—beef jerky, nuts, and sandwiches. Avoid things that will freeze solid, like apples or certain granola bars, unless you plan on keeping them inside your jacket.
Hydration is just as important, but it’s easy to forget when you aren't sweating. Dehydration makes you more susceptible to frostbite and fatigue. A big thermos of hot coffee or cocoa is a classic, but make sure you’re drinking water too.
And a quick note on "adult beverages": while a beer on the ice is a Minnesota tradition, be careful. Alcohol dilates your blood vessels, which might make you feel warm for a minute, but it actually causes your body to lose heat faster. Save the celebration for the tavern after you've safely off the ice.
Ethical Fishing and Conservation
We are lucky in Minnesota to have such incredible natural resources, but they aren't infinite. With more people getting into the sport and technology making it easier to find fish, we have to be more diligent than ever about conservation. Being a "pro" isn't just about how many fish you catch; it’s about how you treat the lake.
Conservation ensures that your kids and grandkids will be able to experience the same "thump" on the line that you do. It’s about respect for the fish, the water, and the other people sharing the ice with you.
Catch and Release in Cold Water
Many people think that because it’s cold, fish are hardier. The opposite is often true, especially for fish pulled from deep water. When you pull a fish up from 30 feet, their swim bladder can expand (barotrauma), making it impossible for them to swim back down. If you plan on releasing fish, try to stay in water shallower than 20-25 feet.
If you do catch a "trophy" that you want to release, keep it in the water as much as possible. At -10 degrees, a fish’s eyes and gills can freeze in seconds. Take a quick photo and get them back down the hole. If you’re fishing for a meal, that’s great—that’s part of the culture—but consider releasing the "big breeders" and keeping the smaller, more abundant fish for the frying pan.
For more on this, read through our Catch and Release Best Practices in Minnesota guide. It covers how to properly handle fish to ensure they survive the encounter. Remember, a 30-inch walleye is likely 15-20 years old. It’s a survivor that deserves to stay in the gene pool.
Aquatic Invasive Species Prevention
This is a huge issue in Minnesota. Zebra mussels, spiny waterfleas, and Eurasian milfoil are wrecking our ecosystems. Even in the winter, you can transport these pests from one lake to another. If you use a lake map app, you’ll see many lakes are marked as "infested."
The rules are simple: Clean, Drain, Dispose. Clean any weeds or debris off your sled and auger. Drain any water from your bait buckets before leaving the access (bring a jug of tap water if you want to keep your minnows alive). And never, ever dump unused minnows into the lake. It’s illegal and one of the primary ways invasive species spread.
Check out the Aquatic Invasive Species (AIS) Rules for Boaters—most of these rules apply to ice anglers too. The DNR does conduct inspections at ice access points, and the fines for transporting invasive species are significant. It’s not just about the fine, though; it’s about protecting the places we love.
Leaving No Trace on the Ice
There is a growing problem with "trash on the ice." When the snow melts in the spring, it reveals a disgusting amount of beer cans, propane tanks, and cigarette butts that then sink to the bottom. If you brought it out, take it back. I always keep a small trash bag tucked into my sled.
This includes "biological" waste too. If you’re out in a sleeper house, make sure you are using a proper disposal system for your greywater and sewage. Dumping anything onto the ice is illegal and ruins the water quality for everyone. Let’s keep our lakes clean so we don't end up with more "impaired waters" that we can't fish in.
Finally, be respectful of other anglers. If someone is already fishing a spot, don't drill your hole ten feet away from them. Give people space. Part of the reason we go out there is for the solitude. If you follow these simple rules of etiquette, you'll find that the Minnesota ice fishing community is one of the friendliest groups of people you’ll ever meet.
Minnesota Fishing Regulations Disclaimer
Fishing regulations in Minnesota are subject to change by the Department of Natural Resources (DNR) at any time. This guide is for informational purposes and may not reflect the most current emergency closures, slot limit changes, or border water agreements. Always consult the official Minnesota Fishing Regulations handbook or the DNR website before heading out on the ice to ensure you are in full compliance with the law.