How to Read a Flasher (Vexilar/Humminbird)
Standing on a frozen Minnesota lake, staring down at a spinning dial of flashing red and green lights can feel like trying to decode an alien transmission. It is incredibly frustrating to know there are fish below you but have no idea how to read the technology meant to help you. This guide will teach you exactly how to interpret every flicker on your Vexilar or Humminbird flasher so you can finally stop guessing and start catching.
Understanding the Circular Sonar Dial
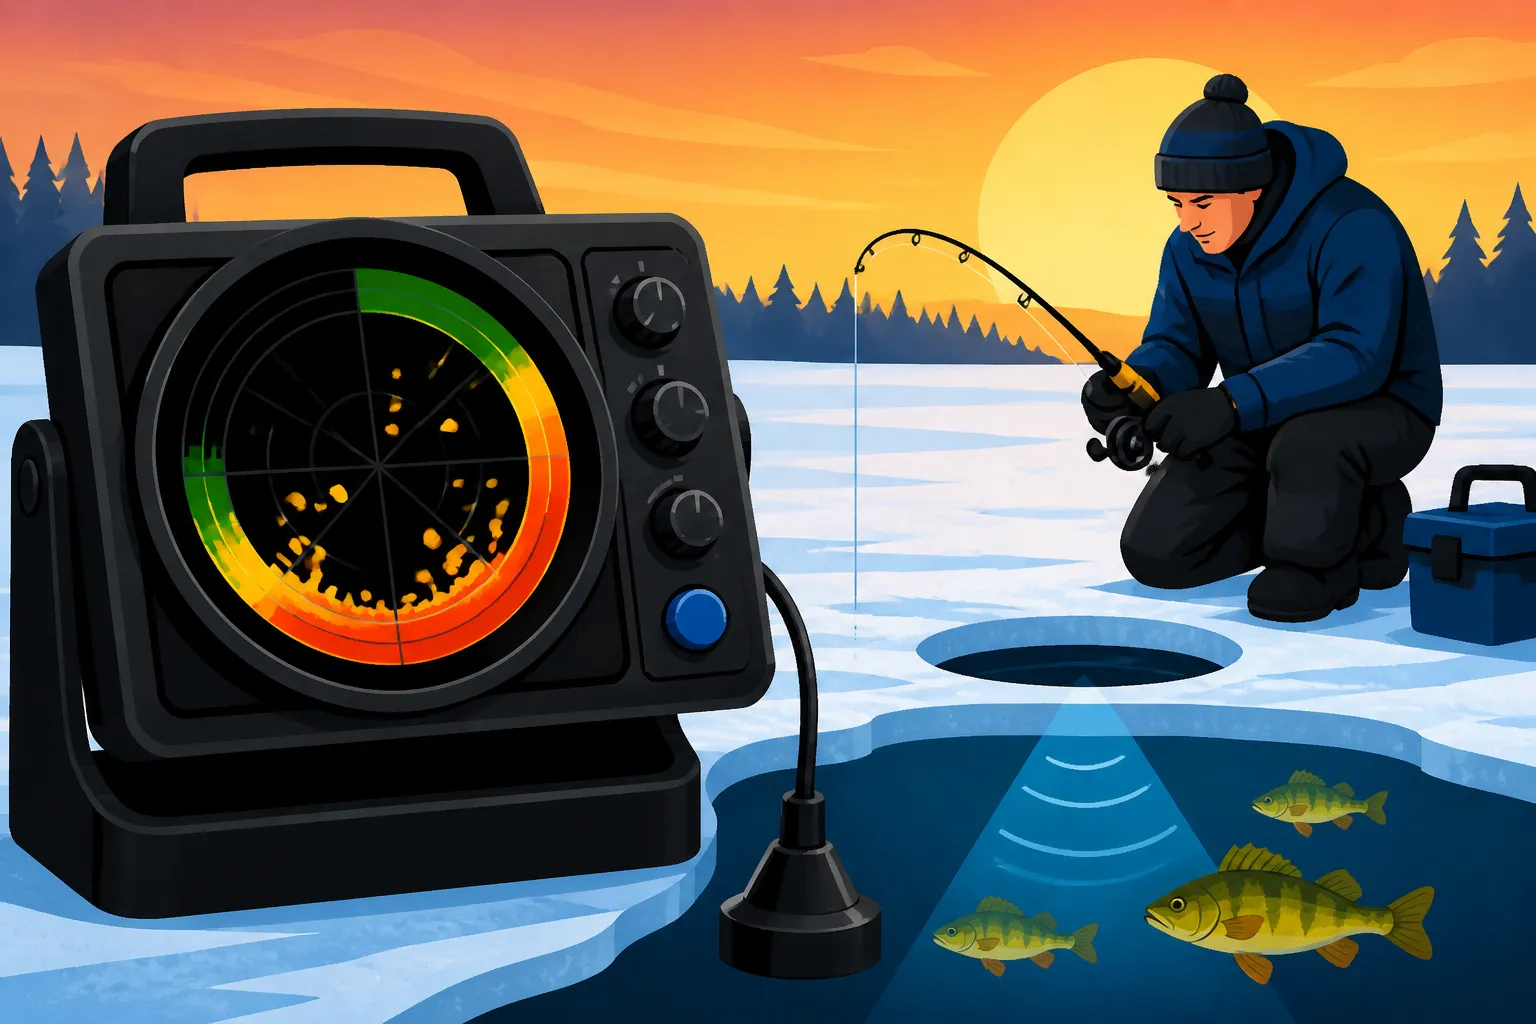
When you first turn on a flasher, the spinning lights can be mesmerizing, but they are actually providing a real-time 360-degree look at the water column. Unlike a traditional scrolling graph that shows history, a flasher shows you what is happening exactly at this millisecond. The top of the dial, usually marked with a zero, represents the surface of the ice where your transducer is sitting.
The Basic Anatomy of a Flasher
The flasher works by sending a "ping" of sound down through the water. This sound reflects off the bottom, your lure, and any fish in the area, returning to the transducer. The unit then translates the time it took for that sound to travel into a visual representation on the dial. On a standard depth scale, if you are in 20 feet of water, the bottom signal will appear at the 20-foot mark on the dial.
I remember my first time out on Lake Mille Lacs; I was so confused by the constant spinning. The key is to realize that the wheel is spinning at a very high RPM, and the "flashes" you see are just the moments when the unit receives a return signal. This is why flashers are preferred for ice fishing—they have zero lag. If you twitch your jig, the light on the dial moves instantly. This real-time feedback is essential for the Ice Fishing in Minnesota: Complete Beginner-to-Pro Guide experience, as it allows you to react to a fish's mood the moment it changes.
Decoding the Three-Color System
Most mechanical flashers, like the Vexilar series, use a three-color system: Red, Orange (or Yellow), and Green. These colors represent the strength of the sonar return. Red is the strongest return, meaning the object is directly in the center of your sonar cone or is very large. Orange is a medium return, and Green is the weakest, often indicating an object on the edge of the sonar cone or something very small, like a tiny jig.
Understanding these colors is the difference between catching a limit and going home empty-handed. For example, if you see a thick red line at the bottom, that is the hard lake floor. If you see a green flicker just above that red line, it might be a walleye hugging the bottom. As that walleye moves closer to the center of your hole, that green flicker will turn orange and then bright red. If you are just starting out, you can find various entry-level units or replacement parts like transducer carries on Amazon to get your gear organized.
Identifying the Bottom Signal vs. the Surface
The "zero" mark is your surface, and the thickest red band on your dial is the bottom. However, in Minnesota, we often deal with "soft" bottoms consisting of muck or silt, especially in some of the smaller metro lakes. In these cases, the bottom signal might look "fuzzy" or wide. A hard bottom, like the gravel bars on Lake Winnibigoshish, will show up as a very crisp, narrow red line.
If you see a secondary red line way past your actual depth (for example, at 40 feet when you are only in 20 feet), don't panic. That is a "double echo," which happens when the sonar signal is strong enough to bounce off the bottom, hit the ice, and go back down again. You can usually ignore this by turning down your gain. Knowing the difference between a true bottom and a secondary echo is a core part of How to Find Fish While Ice Fishing successfully.
Reading Your Lure and the Fish
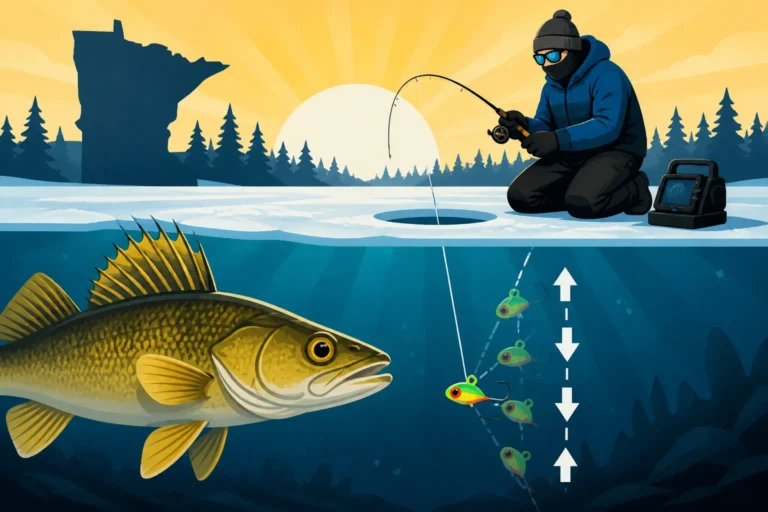
Once you understand the landscape of the dial, it is time to look for the things that move. This is where the magic happens. Your lure will show up as a thin line (usually green or orange) that moves up and down as you jig.
Tracking Your Jig in Real-Time
To find your jig on the flasher, drop it down to the bottom and then reel it up a few feet. You should see a thin line moving in sync with your rod tip. If you can't see your jig, you might need to adjust your transducer so it is hanging perfectly straight, or you may need to increase your gain slightly. A common mistake is using a jig that is too small for the depth, making it hard for the sonar to "catch" it.
If you’re fishing for panfish with tiny tungsten jigs, your signal might stay green no matter what. That’s okay. The goal is to keep that signal separated from the bottom. On lakes like Upper Red Lake, where the water is stained, having a clear signal of your lure is vital for How to Catch Walleye Through the Ice in Minnesota because those fish often want the bait held perfectly still just inches above their heads.
Distinguishing a Fish from Your Lure
When a fish enters the sonar cone, a new line will appear on the dial. If you are jigging at 15 feet in 20 feet of water, and a line appears at 18 feet, that’s a fish. The "thickness" of the line can tell you a lot about the size of the fish, but be careful—a small fish directly under the transducer can look like a "red" monster, while a huge trophy walleye on the very edge of the cone might only show up as a "green" flicker.
The most exciting part of reading a flasher is seeing those two lines merge. When your jig signal and the fish signal become one solid red block, that fish is on your bait. This is the moment to feel for the strike. If you're using the Best Lures for Ice Fishing Walleye, you’ll often see the fish rise aggressively to meet the lure, which is a clear indicator of an active feeder.
Interpreting Fish Behavior
Flashers don't just show you that a fish is there; they show you how the fish is reacting. If you jig aggressively and the fish signal moves away, you're being too loud. If the fish follows your jig as you reel it up (the "chase"), you’ve triggered its predatory instinct. This cat-and-mouse game is what makes ice fishing so addictive.
I've spent hours on the ice watching "lookers"—fish that sit on the bait but won't commit. By watching the flasher, you can see if a subtle quiver of the rod makes the fish's signal flicker or brighten. If it brightens, you’re doing something right. If it fades, the fish is backing off. This level of detail is why most pros consider a flasher more important than the rod itself. You can find high-quality tackle boxes and gear organizers on Amazon to keep your different lures ready for these quick behavioral changes.
| Feature | Vexilar (Mechanical) | Humminbird (Digital) |
|---|---|---|
| Display Type | Spinning LED Wheel | LCD Digital Screen |
| Noise | Audible Whirring | Silent |
| Target Separation | Excellent (Mechanical) | Precision Digital (Adjustable) |
| Battery Life | Long (Simple Electronics) | Variable (Backlight Dependent) |
| Zoom | Fixed (Usually Bottom 6 or 12 ft) | Dynamic (Moveable Zoom) |
| Interference Rejection | Multi-Level Buttons | Digital Filtering |
Mastering Advanced Settings for Clarity
Most people turn their flasher on and never touch the knobs. That is a huge mistake. To get the most out of your electronics, you have to tune them to the specific water conditions of the day.
Setting the Gain (Sensitivity)
The "Gain" or "Sensitivity" knob is the most important control on your unit. Think of it like the volume on a radio. If it’s too low, you won't hear the music (you won't see your jig). If it’s too high, you’ll get nothing but static. You want to set your gain just high enough so that your jig is a clear, consistent green or orange line.
If you turn the gain up too high, the screen will fill with "clutter"—small dots and flickers caused by bubbles, debris, or plankton in the water. In very clear lakes, you can run a lower gain. In the murky waters of the Minnesota River or Lake of the Woods, you'll need to crank it up. Always start at zero and slowly turn it up until your jig appears. This is a fundamental skill covered in Best Ice Fishing Electronics for Beginners.
Using Interference Rejection (IR)
If you are fishing in a "city" of ice houses, your flasher will likely start jumping or showing "ghost" signals. This is caused by other transducers nearby operating on the same frequency. Most Vexilars have an "IR" button or knob. Pressing this cycles through different frequencies to "clear" your screen of other people's pings.
On a Humminbird, this is often handled through digital menus labeled "Noise Filter." If your screen looks like a disco ball, keep hitting that IR button until the signal stabilizes. It’s one of the first things I teach people when we're out on a crowded weekend near Garrison. You don't want someone else's Vexilar FLX-28 Review unit ruining your view of the water column.
The Importance of the Zoom Zone
"Zoom" is a game-changer for bottom-hugging fish like walleye and perch. When you engage the zoom (usually the bottom 6 or 12 feet of the water column), the flasher takes that small section and stretches it across a larger portion of the dial. This allows you to see tiny separations between a fish and the bottom that you would otherwise miss.
If you are fishing in 30 feet of water for perch, a fish sitting three inches off the bottom will look like part of the bottom signal on a normal 0-60 foot scale. But in "Auto Zoom" mode, that three-inch gap becomes a clear space of "black" on the dial, telling you exactly when to drop your Best Lures for Ice Fishing Crappie or perch rigs.
Brand Specifics: Vexilar vs. Humminbird
While both brands show you the same data, they do it in different ways. Choosing between them often comes down to personal preference and how your eyes process the light.
The Vexilar Legacy and Mechanical Displays
Vexilar is the gold standard in Minnesota. They use a physical spinning wheel with LEDs behind it. Many old-timers swear by this because there is literally no digital processing time—the light you see is the sound hitting the transducer at that exact moment. Units like the FL-8 or the FL-18 are legendary for their durability.
The "Vexilar Hum" is a sound every ice angler knows. Because it's mechanical, it's very reliable in extreme cold. Digital screens can sometimes lag or "ghost" when it hits -20 degrees on Upper Red Lake, but the Vexilar motor keeps spinning. If you're looking for a Vexilar FLX-28 Review, you'll find that their modern high-end units have incredibly crisp displays while maintaining that classic mechanical feel.
Humminbird’s Digital Precision
Humminbird’s "Ice" series (like the Helix 5 or 7) are digital units. They don't have a spinning wheel; instead, they use a high-resolution LCD screen to simulate a flasher dial. The benefit here is versatility. You can switch from a flasher view to a traditional 2D scrolling sonar view, or even a GPS map with LakeMaster contours.
The digital nature of the Humminbird Ice Helix Review units allows for "Dynamic Zoom," meaning you can zoom in on any part of the water column, not just the bottom. If you're chasing suspended crappies in the metro, being able to move your zoom window to the 10-15 foot range in 30 feet of water is a massive advantage. You can often find deals on Amazon for the mounting kits and shuttle systems for these digital units.
Comparing Target Separation and Features
Target separation refers to the unit's ability to distinguish between two objects that are very close together. For example, if a bluegill is two inches above your jig, a unit with poor target separation will show them as one big blob. A unit with 1/2-inch target separation will show two distinct lines.
Mechanical units generally have excellent, "infinite" feeling separation, while digital units are limited by the pixels on the screen. However, modern digital units have reached a point where the difference is negligible for most anglers. If you are serious about Minnesota Ice Fishing & Shelter Rules, remember that having a clear display helps you identify species more accurately, which is crucial for staying within legal limits.
Troubleshooting Common On-Ice Issues
Even the best electronics can act up when the temperature drops and the wind starts howling. Knowing how to fix common issues on the fly will save your trip.
Dealing with Flicker and Ghost Signals
Sometimes your flasher will start "flickering" or showing a very weak bottom signal even with the gain turned up. The first thing to check is the transducer. Is it level? If it’s tilted even a few degrees, the sound waves are bouncing off the bottom at an angle and not returning to the unit.
Another culprit is "slush" in the hole. If your hole is filled with ice shavings, the sonar signal has to fight through those air bubbles, which kills the return. Always keep your hole clean. If you see a "double bottom" that won't go away, check to see if you're in "low power" mode, which some units use for very shallow water (under 10 feet).
Maintaining Your Battery in Sub-Zero Temps
Nothing ends a fishing day faster than a dead battery. Most flashers use a 12V 7-9Ah lead-acid battery, which hates the cold. If you leave your unit in the back of the truck overnight in Bemidji, it might only last two hours on the ice. I always recommend switching to a Lithium (LiFePO4) battery.
Lithium batteries are much lighter and maintain a consistent voltage until they are completely empty. You can find highly-rated lithium drop-in replacements on Amazon that will fit right into your Vexilar or Humminbird shuttle. Trust me, your back will thank you for the weight savings when you're trekking across the ice. This is a key tip in any Best Ice Fishing Gear for Minnesota (2027 Guide).
Transducer Alignment and Performance
The transducer is the "eye" of your unit. If the surface of the transducer is scratched or covered in oil/dirt, it won't perform correctly. I always give mine a quick wipe with a rag before dropping it in. Also, make sure it is hanging below the bottom of the ice. If the transducer is sitting inside the "tunnel" of the hole, the signal can bounce off the sides of the ice, causing massive interference.
If you've tried everything and the unit still isn't working, check the connection where the transducer plugs into the back of the head unit. In the cold, these connections can loosen or get moisture in them. A little bit of dielectric grease (available on Amazon) can help keep those connections waterproof and solid all season long.
Minnesota Fishing Regulations and Safety
While using a flasher makes you a more effective angler, it also carries a responsibility to follow the rules and protect our resources. The Minnesota Ice Fishing & Shelter Rules are in place to ensure that everyone has a chance to enjoy the sport and that fish populations remain healthy.
Always be aware of the specific limits for the lake you are on. Just because your flasher shows a massive school of crappies doesn't mean you should keep every one of them. Use your electronics to find the fish, but use your ethics to decide which ones to take home. Staying updated on Minnesota Fishing Regulations Changes for 2026 is part of being a responsible Minnesota angler.
Minnesota Fishing Disclaimer
Fishing regulations in Minnesota are subject to change by the Department of Natural Resources (DNR) at any time. Always consult the most recent Minnesota Fishing Regulations handbook or the official DNR website before heading out on the water. This guide is for informational purposes and does not guarantee success or legal compliance. Use electronics and all fishing gear at your own risk, especially when navigating ice conditions which can be inherently dangerous. Refer to Minnesota Ice Fishing & Shelter Rules for safety guidelines.