How to Fillet a Northern Pike (Remove Y-Bones)
Many Minnesota anglers love the thrill of catching a feisty Northern Pike, but let's be brutally honest: the thought of those infamous Y-bones can turn an exciting catch into a daunting kitchen chore. It’s a common frustration that keeps many from enjoying the delicious, flaky white meat these toothy predators offer. But I'm here to tell you it doesn't have to be that way! This guide will demystify the process, walking you through a simple, effective method to fillet a Northern Pike and remove those pesky Y-bones, ensuring every meal is a boneless delight.
Why Northern Pike are Worth the Effort
I get it. You've heard the stories, or maybe you've even tried and failed, ending up with a pile of bony, mangled fillets. That initial intimidation factor is real when it comes to Northern Pike. But trust me, the effort you put into learning this filleting technique pays off immensely, transforming a fish many deem "too bony" into a prized table fare. Once you master the Y-bone removal, you'll open up a whole new world of culinary possibilities, making those hard-fighting pike an even more rewarding catch.
The Delicious Truth About Pike Meat
Despite their bony reputation, Northern Pike possess some truly fantastic meat. It’s firm, flaky, and has a mild, subtly sweet flavor that stands up well to various cooking methods. Unlike some other freshwater species that can be a bit on the "fishy" side, a fresh pike fillet is clean-tasting and absolutely delicious. Many folks who try a properly filleted, boneless pike for the first time are genuinely surprised at how good it is, often comparing it favorably to walleye. It's truly one of the best eating fish in Minnesota lakes, especially when prepared correctly.
Think about the experience: a day out on the water, perhaps landing some substantial Northern Pike in Minnesota: Identification & Where to Catch, then bringing home a bounty that, with a little know-how, transforms into a meal that rivals any restaurant dish. This fish is a staple in many cultures for a reason, and Minnesota anglers are lucky to have such abundant opportunities to pursue them. Don't let a few bones keep you from experiencing this culinary gem.
Overcoming the Intimidation Factor
The biggest hurdle for most anglers is the perceived difficulty of dealing with the Y-bones. You might have heard about special tools or incredibly complex cuts, but the reality is simpler than you think. What you need is a sharp knife, a bit of patience, and a clear understanding of the pike's anatomy. Once you internalize the "five-cut" method (which we'll detail shortly), you'll realize it's a routine as straightforward as filleting any other fish, just with one extra set of strategic cuts.
Remember, practice makes perfect. Your first attempt might not yield magazine-cover fillets, and that's totally okay. Every seasoned angler and chef started somewhere. The important thing is to give it a try and build your confidence. Soon, you'll be filleting pike like a pro, and your friends will be asking you for your secrets on how to fillet a Northern Pike (Remove Y-Bones) – and perhaps even some Northern Pike Fishing Tips for Minnesota Anglers.
Essential Tools for Filleting Northern Pike
Having the right tools for the job is paramount, especially when you're tackling something as specific as Y-bone removal from a Northern Pike. While you don't need a full commercial kitchen setup, a few key items will make the process infinitely smoother and safer. Investing a little in quality equipment now will save you a lot of frustration and potentially wasted meat down the line.
The Right Knife Makes All the Difference
This is arguably the most crucial piece of equipment. You need a fillet knife that is incredibly sharp and has a flexible blade. A dull knife will not only make the process more difficult and messier but also significantly increase your chances of injury.
When selecting a knife, look for:
- Blade Length: A 6 to 9-inch blade is typically ideal for Northern Pike, allowing for long, clean cuts along the backbone without being too cumbersome.
- Flexibility: A flexible blade helps you follow the contours of the fish's bones closely, ensuring you get as much meat as possible.
- Sharpness Retention: High-quality stainless steel blades, like those from Dexter-Russell or Bubba Blade, will hold an edge longer. You can often find great options for these on Amazon, often with protective sheaths.
- Handle Grip: A comfortable, non-slip handle is essential, especially when your hands might get wet and slimy.
Before you even make the first cut, ensure your knife is razor-sharp. Use a sharpening steel, a whetstone, or a quality knife sharpener to get that edge perfect. A sharp knife glides through flesh, while a dull one tears. For those just getting started, don't overlook a good quality, affordable knife from brands like Rapala, which are widely available and perform well for the price. This is a fundamental part of your Best Fishing Gear for Beginners in Minnesota (By Budget).
Other Handy Equipment
Beyond your primary fillet knife, a few other items can make your filleting experience much more pleasant and efficient:
- Fillet Board: A sturdy, non-slip fillet board is a game-changer. Many come with a clamp to hold the fish's tail, preventing it from sliding around during the filleting process. This is a huge safety advantage and helps you make cleaner cuts. Look for ones made of durable plastic that are easy to clean.
- Sharpening Stone or Steel: As mentioned, maintaining a sharp edge is key. A simple sharpening steel can quickly touch up your blade between fish, or a more robust sharpening stone can restore a truly dull edge.
- A Second, Sturdier Knife (Optional): Sometimes, especially with larger pike, you might encounter tough scales or bone that require a bit more leverage than your flexible fillet knife can provide. A shorter, stiffer utility knife or even a chef's knife can be useful for initial head-off cuts or rib cage removal if you prefer.
- Gloves (Optional): Some anglers prefer cut-resistant gloves for added safety, especially if they are new to filleting or handling very slippery fish.
- Paper Towels/Rags: Keep a roll of paper towels or some clean rags nearby to wipe down your hands, the knife, and the board, helping maintain a clean and safe workspace.
Step-by-Step Guide to Removing Northern Pike Y-Bones
Now for the main event! This method, often called the "five-cut" or "three-piece" method, is the most effective way to separate the delicious, boneless meat from the bony sections of a Northern Pike. Don't worry if it sounds complex; we'll break it down into manageable steps.
The Initial Fillet Cut
First things first, let's get those initial fillets off the fish. This part is similar to filleting any other round-bodied fish.
- Head-Off Cut: Lay the pike on your fillet board. Make a diagonal cut behind the gills, angling towards the head, until you hit the backbone. Do not cut through the backbone yet.
- Backbone Cut: Turn your knife so the blade runs flat along the backbone, extending from your initial head-off cut all the way to the tail. Apply gentle pressure, keeping the blade tight against the spine, and separate the entire fillet from the backbone. Flip the fish over and repeat for the other side.
- Rib Cage Removal: You'll now have two fillets, each with the rib cage attached. Lay one fillet skin-side down. Carefully slide your knife under the rib bones, following the curve of the ribs, separating them from the meat. This will leave you with a long, relatively flat fillet that still contains the notorious Y-bones. Set the rib section aside; while some people try to get more meat off, for a boneless experience, it's often best to discard this part. This technique is similar in principle to removing ribs when you How to Fillet a Walleye (Step by Step).
Locating and Isolating the Y-Bones
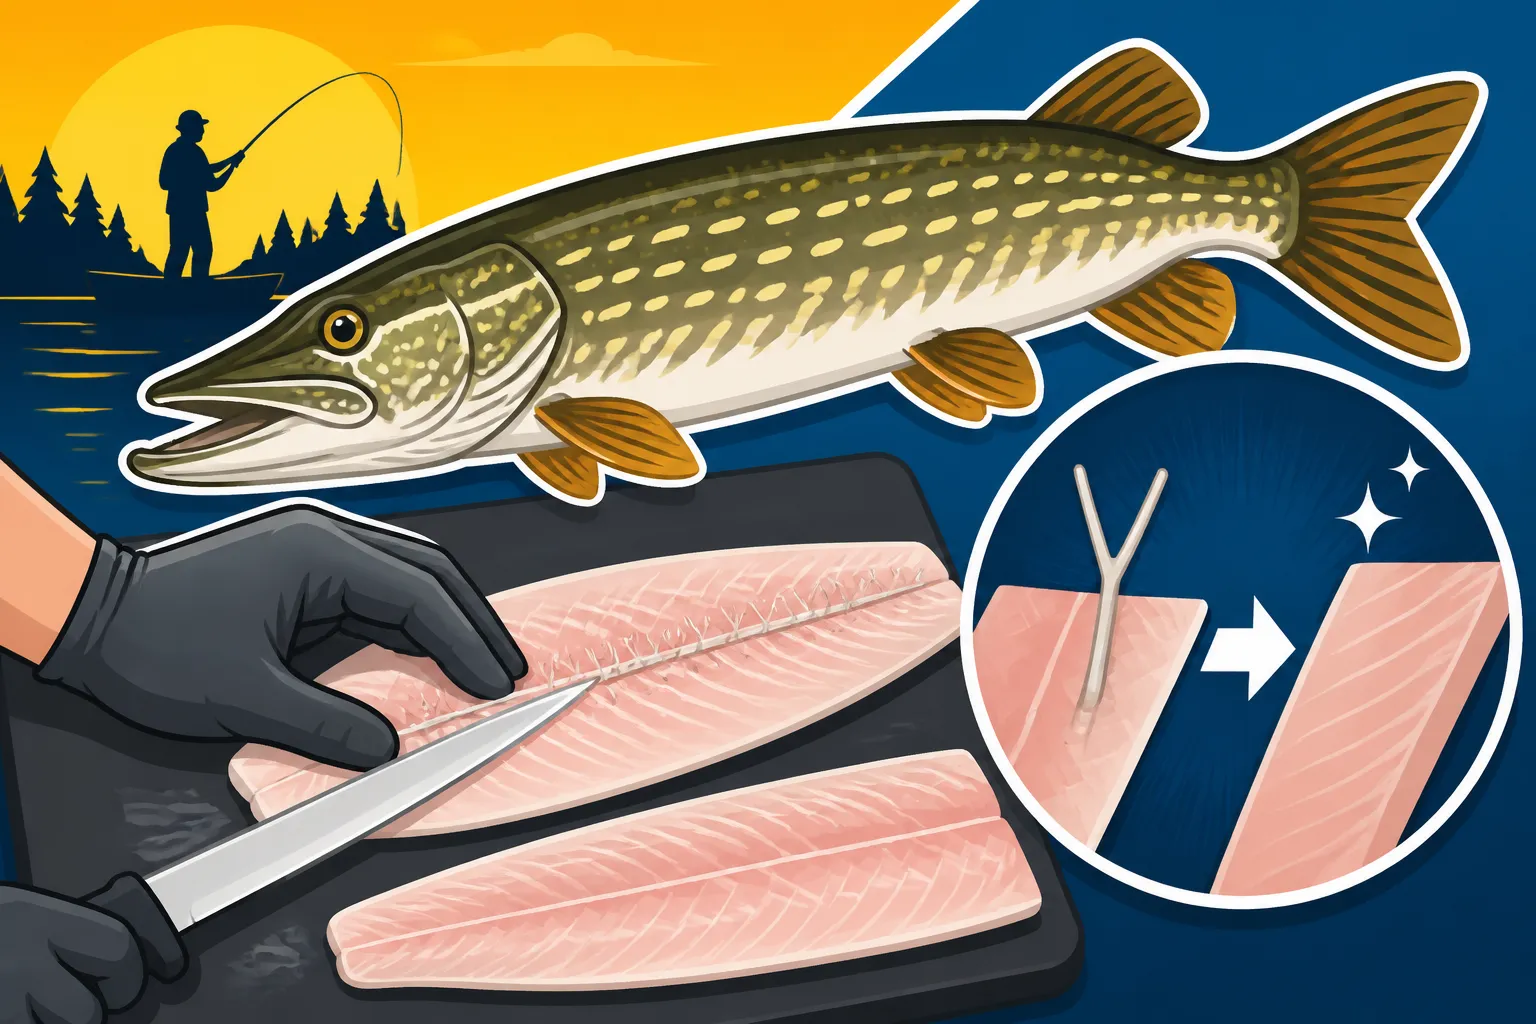
This is where the pike-specific technique really begins. The Y-bones are unique to pike and pickerel, and they run along the lateral line in the upper portion of the fillet. They form a "Y" shape, with two prongs pointing forward into the meat and one shaft pointing down towards the skin.
- Feel for the Bones: Run your fingers along the length of the fillet, particularly in the upper, thicker part. You'll feel a distinct row of hard, bony structures. These are your Y-bones. They're typically concentrated in the mid-section of the fillet, roughly from where the dorsal fin was forward to the head area.
- Make the First Lateral Cut: With the fillet skin-side down, make a shallow cut above the Y-bone line, running parallel to the lateral line, starting from the thickest part of the fillet towards the tail, stopping just short of the tail end. You're essentially scoring the meat without cutting deep. This line creates the top edge of the boneless "strip."
The "Five-Cut" Method Explained
This is the magic part! You'll be making five precise cuts to isolate and remove the Y-bone section.
- Cut 1 (Along the Top of Y-Bones): Following your initial score, deepen this cut from the top of the fillet down to the top of the Y-bones. Keep your knife angled slightly downwards, pressing gently until you feel the resistance of the bones. This cut separates the upper, boneless loin meat from the Y-bone section.
- Cut 2 (Behind the Y-Bones): Starting from the tail end of the fillet, cut behind the last Y-bone, angling your knife forward and down towards the skin. This separates the small, boneless tail section from the main body of the fillet. This "tail piece" is usually entirely boneless and perfect for a quick snack!
- Cut 3 (Underneath the Y-Bones): Now, slide your knife underneath the Y-bone section. Angle your knife upwards, pressing against the bottom of the Y-bones, and cut forward towards the head end. You're separating the Y-bone strip from the bottom, boneless belly meat. This cut requires a delicate touch to stay tight to the bones.
- Cut 4 (Above the Y-Bones, other side): Make another cut from the top, parallel to your first cut, on the other side of the Y-bone strip, moving towards the belly side of the fillet. This helps define the Y-bone strip.
- Cut 5 (Removing the Y-Bone Strip): Finally, with the Y-bone strip now largely isolated, carefully slice along the top and bottom of the Y-bone section until it lifts clean out. You'll be left with three distinct pieces of meat: the upper boneless loin, the lower boneless belly meat, and the small boneless tail piece (if you made that cut separately), plus the Y-bone strip which you'll discard.
It sounds like a lot, but once you do it, the muscle memory kicks in. Here's a quick visual aid for the cuts:
| Cut # | Description | Purpose |
|---|---|---|
| 1 | Top of Y-bones (downward angle) | Separates upper loin from Y-bone section |
| 2 | Behind last Y-bone (forward/downward angle) | Isolates boneless tail piece |
| 3 | Underneath Y-bones (upward angle) | Separates Y-bone strip from lower belly meat |
| 4 | Other side of Y-bones (downward angle) | Further defines Y-bone strip |
| 5 | Remove Y-bone strip | Extracts the entire bony section |
Skinning Your Fillets
Once you have your boneless pieces of pike meat, the last step is to remove the skin.
- Position the Fillet: Lay one boneless piece of pike fillet skin-side down on your clean cutting board.
- Start the Cut: Grasp the tail end of the fillet firmly. With your fillet knife, make a small cut at the very tail end, just through the flesh, until you hit the skin. Angle your knife slightly downwards.
- Slide the Knife: Keep your knife blade flat against the skin, pushing it forward while holding the skin taught with your other hand. Use a gentle sawing motion if needed, but the goal is to smoothly separate the meat from the skin. Work slowly and steadily, keeping the blade tight against the skin to avoid leaving too much meat behind.
Now you have beautiful, boneless, skinless Northern Pike fillets ready for cooking!
Tips for Maximizing Your Pike Fillet Yield and Enjoyment
Filleting a Northern Pike is about more than just getting the bones out; it’s about respecting the fish and maximizing the delicious bounty it provides. With a few extra tips, you can ensure you get the most out of every pike you catch and prepare them in ways that truly shine.
Don't Waste a Single Morsel
Even after you've extracted those beautiful boneless fillets, there's often still some usable meat to be found. The cheeks of a large pike, for instance, are a small but tender delicacy, easily removed with a small spoon or the tip of your fillet knife. You might also find some scraps near the backbone or rib cage that, while not large enough for a main fillet, are perfect for making fish stock, fish cakes, or even a flavorful fish spread. Many anglers, after spending time learning how to catch Northern Pike in Minnesota (Step by Step) and successfully bringing one to the boat, want to ensure every edible piece is utilized.
If you're really into utilizing every part, consider saving the heads and frames for a rich fish broth. This broth can be the base for soups, stews, or a flavorful poaching liquid for your boneless pike fillets. While it requires a bit more effort, it's a fantastic way to honor the catch and create zero-waste meals.
Cooking Your Boneless Pike Fillets
Now that you have those pristine, boneless fillets, the culinary possibilities are endless! Northern Pike meat is incredibly versatile. Its firm texture holds up well to various cooking methods, making it a favorite for many.
Here are a few ideas to get you started:
- Pan-Fried: This is a classic for a reason. Dredge your fillets in seasoned flour, cornmeal, or a Panko breading, then pan-fry in butter or oil until golden brown and flaky. The mild flavor of the pike really shines through here.
- Baking/Broiling: For a lighter option, season your fillets with lemon, herbs (dill is fantastic with pike!), and a touch of butter or olive oil, then bake or broil until cooked through. This is a simple, healthy, and delicious way to prepare them.
- Fish Tacos: Flake the cooked pike meat into soft tortillas, topped with fresh salsa, cabbage slaw, and a creamy sauce for an amazing fish taco experience.
- Grilled: If you have thicker fillets, grilling them can impart a wonderful smoky flavor. Just be sure to oil the grates well to prevent sticking.
Because the Y-bones are removed, you can treat these fillets like any other premium whitefish, serving them proudly knowing there won't be any unpleasant surprises for your diners. So, next time you're out on the water, and you catch a pike within the Northern Pike Season & Limits in Minnesota, don't hesitate to keep it. With this guide, you're now equipped to turn it into a fantastic meal. For more great ideas on what to serve, remember that pike is a contender for the Best Eating Fish in Minnesota Lakes!
Disclaimer
Fishing regulations, techniques, and safety practices can change. Always consult the most current Minnesota Department of Natural Resources (DNR) regulations before heading out on the water. This guide is for informational purposes only and should not replace official guidelines or common-sense safety practices. Be safe, be responsible, and enjoy your time fishing!