Best Underwater Cameras for Ice Fishing (Aqua-Vu)
There’s nothing quite as frustrating as sitting over a hole on a frozen Minnesota lake, staring at a flasher that’s marking fish, but getting absolutely no bites. You jig, you change lures, you wait, but nothing. You wonder, "Are they even real fish? Are they looking at my bait? What am I doing wrong?" This guide is here to shed some light, quite literally, on that underwater mystery, focusing on how the best underwater cameras, especially those from Aqua-Vu, can revolutionize your ice fishing experience.
Why an Underwater Camera is a Game Changer for Ice Fishing in Minnesota
Let's be honest, ice fishing can sometimes feel like you're fishing blind. We rely on electronics to give us a glimpse of what's happening below, but even the best flashers have their limits. An underwater camera pulls back the curtain entirely, transforming educated guesses into concrete observations. For anglers hitting the hard water in Minnesota, from the vast expanses of Lake of the Woods to the smaller, local honey holes, this visual feedback is invaluable.
Seeing is Believing: Beyond the Flasher
Flashers are incredible tools, don't get me wrong. They show you depth, your lure, and fish as colored lines or dots. You can tell if fish are present, how deep they are, and even gauge their activity somewhat by how aggressively they approach your lure mark. But a flasher can't tell you the species, confirm the size, or show you how that fish is reacting to your bait. Is it just swimming by? Is it looking at your jig with disdain? Is it mouthing it so lightly you can't feel it?
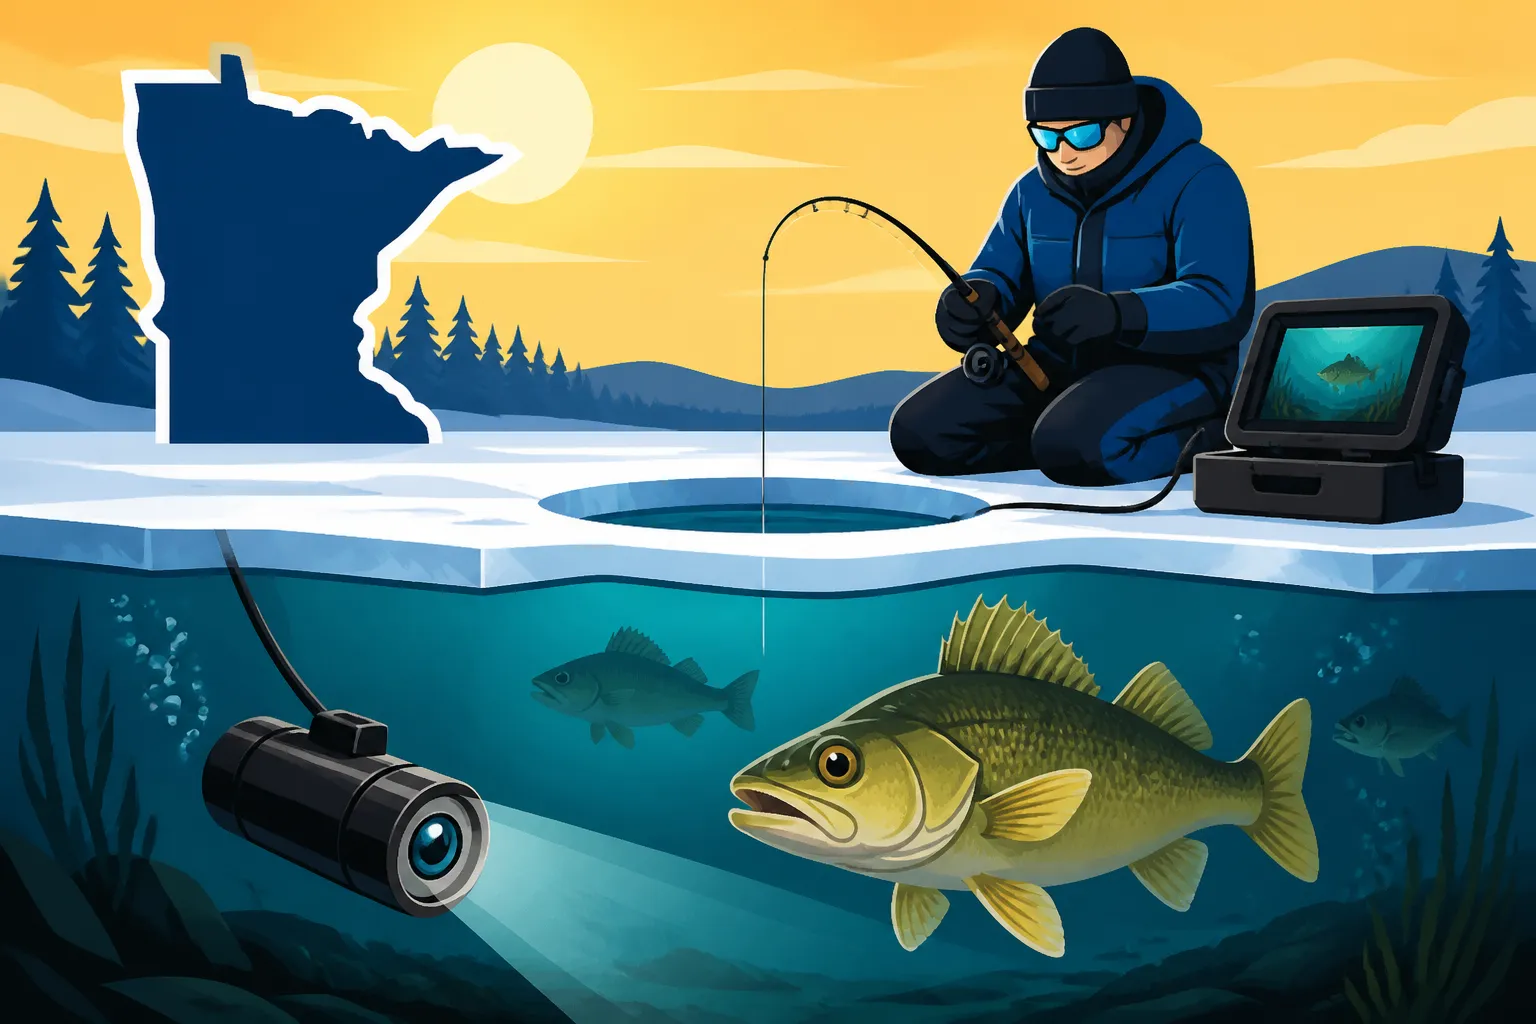
This is where the underwater camera steps in. Imagine seeing a plump walleye slowly approach your jig, nose right up to it, subtly inhale, and then spit it out. You’d never feel that on your rod, but the camera reveals it all. It’s like having an extra pair of eyes, only these eyes are directly in the fish's living room. This visual confirmation removes so much guesswork and allows for instant, precise adjustments that a flasher alone can't provide. It transforms a vague "fish here" into a detailed underwater drama.
Enhanced Fish Identification and Behavior Analysis
One of the biggest advantages of an underwater camera is the ability to positively identify what's lurking beneath your hole. On a flasher, a big mark could be a trophy walleye, a monstrous northern pike, or even a less desirable species like a carp or a whitefish. With a camera, there’s no mistaking it. You see the distinctive eyes of a walleye, the broad shoulders of a pike, or the vibrant colors of a big crappie. This identification is crucial, especially when you're targeting a specific species or adhering to specific regulations like those on Mille Lacs Lake Walleye Regulations (2026).
Beyond identification, watching fish behavior is truly eye-opening. You'll observe if fish are actively swimming and hunting, or if they're sluggish and merely curious. You might see a school of yellow perch darting around, actively feeding, or a lone northern pike cruising slowly, showing little interest. This insight allows you to understand their mood. Are they aggressive and hitting everything? Or are they finicky, requiring a subtle change in your presentation? This real-time behavioral analysis gives you a massive edge in convincing those hesitant fish to bite, moving beyond generic tactics to highly specialized approaches based on what the fish are actually doing.
Optimizing Lure Presentation and Bait Selection
Have you ever wondered if your jigging action looks appealing underwater? Or if that new plastic you bought is actually performing as advertised? An underwater camera gives you the ultimate feedback loop. You can drop your chosen lure down the hole, watch it on the screen, and see exactly how it behaves. Is it spinning too much? Is it falling naturally? Is it presenting your minnow head just right? You can experiment with different jigging cadences – short hops, long lifts, dead sticks – and immediately see how fish react.
This visual input is invaluable for fine-tuning your approach. If fish are ignoring your brightly colored spoon, you might switch to a subtle tungsten jig with a live minnow, then watch on screen to confirm it’s more appealing. Perhaps they prefer a slower, more methodical approach, or maybe they need a more aggressive "rip and fall" to trigger a strike. You can even see if your live bait, like minnows or waxworms, is lively enough to attract attention. This level of detail empowers you to adjust your presentation in real-time, making you a much more effective angler. It's truly a secret weapon, helping you understand how to catch more fish through the ice in Minnesota.
Key Features to Look for in an Ice Fishing Camera
When you're sifting through all the options for underwater cameras, it's easy to get overwhelmed. There are so many models out there, each promising to be the best. But for serious Minnesota ice anglers, certain features are non-negotiable. Focusing on these will ensure you get a reliable, effective tool that truly enhances your time on the ice, whether you're out for a day or staying in one of the popular ice shelters: Clam vs Otter (Flip vs Hub).
Camera Quality and Field of View
The heart of any underwater camera is, well, the camera itself. You're looking for crisp, clear images that allow you to distinguish fish from weeds, and more importantly, see fine details like a fish mouthing your hook. High-definition (HD) cameras offer significantly better clarity than standard definition (SD), especially on larger screens, allowing you to see smaller fish and subtle reactions with ease. Some models even offer 1080p, which is fantastic for recording footage.
Beyond resolution, low-light performance is crucial. Most ice fishing happens in conditions where light penetration is limited, especially in deeper water or on cloudy days. Cameras with sensitive sensors and good low-light capabilities, often augmented with infrared (IR) or white LED lights, will give you a usable picture when others go dark. These lights illuminate the underwater scene without spooking the fish, ensuring you can keep watching even in stained water or during twilight hours. A wide field of view (FOV) is also important, as it allows you to see more of the underwater landscape without having to constantly reposition the camera, giving you a better understanding of the fish's immediate environment.
Display Size and Clarity
What good is a high-quality camera if you can't see the image clearly? The display screen is your window to the underwater world, and its characteristics make a huge difference. Screen size is a personal preference, but generally, larger screens (5-inch, 7-inch, or even 10-inch) provide a more comfortable and detailed viewing experience, especially when multiple people are watching. For a more portable, handheld unit, a smaller screen might suffice, but you'll sacrifice some detail.
Clarity, however, isn't just about size. Look for displays with high brightness (nits) to combat glare from sunlight on the ice. Matte finishes or anti-glare coatings are also beneficial. Some advanced models even feature sun visors or offer special modes to enhance visibility in bright conditions. A clear, vibrant display ensures you don't miss any subtle movements or reactions, making the information you gain from the camera truly actionable.
Battery Life and Portability
Cold weather is notoriously tough on batteries, and nothing ruins an ice fishing trip faster than dead electronics. A good ice fishing camera needs robust battery life, ideally lasting 8-10 hours or more on a single charge. Many cameras use sealed lead-acid (SLA) batteries, which are reliable but can be heavy. Increasingly, lithium-ion batteries are being integrated, offering lighter weight and more consistent performance in the cold, though often at a higher price point. Always check the rated battery life and consider bringing a portable power bank or an extra battery, especially for longer trips or extremely cold days.
Portability is another key factor. Are you a minimalist angler who likes to hole-hop with just a bucket and a rod? Then a compact, all-in-one unit that fits in your hand or a small tackle bag might be perfect. If you fish from a permanent ice house or a spacious flip-over shelter, a larger unit with a dedicated monitor might be more comfortable. Think about how you transport your gear, how much space you have, and how easily you can deploy and pack up the camera. Companies like Aqua-Vu offer a range of sizes to suit different styles, from the tiny Micro series to the more robust HD systems.
Cable Length and Durability
The cable connecting your camera to the display might seem like a minor detail, but it's critically important. The length needs to match the depths you typically fish in Minnesota's diverse lakes. Common cable lengths range from 50 feet to 125 feet. If you primarily fish shallow bays for panfish, 50 feet might be fine. But if you're chasing walleye or lake trout in deeper basins, you'll definitely want 75 feet or more. It’s always better to have more cable than not enough.
Cable durability is equally important. It will be subjected to freezing temperatures, sharp ice edges, and potentially rough handling. Look for cables that are tangle-resistant, flexible in cold water, and feature strong, waterproof connections. Some cables are reinforced with Kevlar for added strength. A poorly designed cable can kink, crack, or fail, rendering your camera useless. Ensuring your camera has a robust, appropriate-length cable means you can rely on it season after season.
Aqua-Vu: A Deep Dive into the Industry Leader
When it comes to underwater cameras for fishing, especially ice fishing, one name stands out as the true pioneer and leader: Aqua-Vu. For decades, they've been at the forefront, developing innovative solutions that have changed how anglers approach the hard water. If you’re looking for a dependable system, checking out what Aqua-Vu offers is always a solid first step. You can often find a great selection at major retailers like Bass Pro Shops or online at Amazon.
Aqua-Vu's Legacy in Underwater Viewing
Aqua-Vu didn't just join the underwater camera market; they essentially created it. Back in 1997, they introduced the first commercially available underwater viewing system to the fishing world. Before that, anglers could only imagine what was happening below the surface. Aqua-Vu brought that imagination to life, offering a literal window into the fish's world. This innovation was a revelation for ice anglers, who immediately recognized the benefit of seeing their lure presentation and fish reactions in real-time.
Over the years, Aqua-Vu has maintained its reputation for innovation and reliability. They've consistently pushed the boundaries of technology, from improving camera clarity and low-light performance to developing features like internal DVRs and advanced cable management systems. Their commitment to the angling community, especially those braving the cold for a prized catch, has cemented their position as the go-to brand for serious ice fishermen. When Minnesota anglers talk about "the camera," they're often talking about an Aqua-Vu.
Popular Aqua-Vu Models for Ice Anglers
Aqua-Vu offers a diverse lineup designed to meet the needs of every type of ice angler, from the casual weekend warrior to the hardcore tournament competitor.
-
Aqua-Vu Micro Series: These are the ultra-portable, handheld units, perfect for hole-hopping or minimalist anglers. Models like the Micro Stealth or Micro Revolution are incredibly compact, often fitting into a jacket pocket. They feature smaller screens (3.5 to 5 inches), but still offer decent camera quality and impressive battery life for their size. They’re excellent for quick checks on fish presence or lure action without a lot of setup. The "Revolution" models include a patented reel system that allows for easy cable deployment and retrieval, a huge plus when you're moving around a lot.
-
Aqua-Vu Recon Series: Stepping up slightly, the Recon series offers a balance of portability and enhanced features at a more accessible price point. The Recon 5 and Recon 7 typically feature 5 or 7-inch LCD displays, often with better screen brightness and camera resolution than the Micro series. They come in convenient carry bags and are a solid choice for anglers who want a capable, reliable system without breaking the bank. These are great for general use, whether you're targeting panfish or exploring deeper structure for walleye.
-
Aqua-Vu HD Series: This is where Aqua-Vu truly shines for those who demand the best in visual clarity and features. Models like the HD7i and HD10i Pro boast stunning high-definition cameras, large (7 or 10-inch) daylight-viewable LCD screens, and often include advanced features like built-in DVR recording, temperature readouts, and depth indicators. The HD10i Pro, for instance, offers a full 1080p camera and a bright, vibrant display, making it a favorite for those who want to see every detail. These units are usually more robust, coming in durable cases, and are ideal for dedicated ice houses or longer stays on the ice. They provide the clearest picture and the most comprehensive viewing experience, making them a top choice for serious anglers.
Here’s a quick overview of some popular Aqua-Vu models:
| Model Series | Screen Size (inches) | Camera Resolution | Key Features | Ideal User |
|---|---|---|---|---|
| Micro Series | 3.5 – 5 | SD / HD | Ultra-portable, cable reel, compact | Hole-hoppers, minimalist anglers |
| Recon Series | 5 – 7 | HD | Portable, good value, brighter screens | General ice anglers, versatile use |
| HD Series | 7 – 10 | 720p / 1080p HD | Superior clarity, large screen, DVR, temp/depth | Dedicated anglers, ice houses, recording footage |
Innovative Features and Accessories
Aqua-Vu's innovation goes beyond just the core camera systems. They've developed a range of unique features and accessories that genuinely enhance the user experience on the ice.
One notable feature is their True-Color Technology, which aims to provide natural, accurate color rendition even in challenging underwater light conditions. This makes identifying fish species and assessing water clarity much easier. Many models also incorporate internal temperature sensors and depth gauges directly on the camera, displaying that crucial information right on your screen alongside the video feed. This helps you understand where fish are holding in relation to the thermocline or specific depth contours, which is critical for species like lake trout in Minnesota's deeper lakes.
For those who want to relive their catches or analyze their fishing techniques later, many higher-end Aqua-Vu models include built-in DVR recording capabilities. This allows you to capture video footage directly onto an SD card, perfect for sharing your adventures or studying fish reactions to different lures and presentations.
Aqua-Vu also offers ingenious accessories that improve functionality. The XD Camera Housing allows you to quickly convert your camera from horizontal (side-view) to vertical (down-view) orientation with a simple clip, offering flexibility in how you observe the underwater scene. The Mo-Pod 3 is a motorized camera panner that lets you remotely rotate your camera 360 degrees from above the ice, scanning a wide area without having to pull up and reposition your camera. This is a game-changer for finding fish or observing how they approach from different directions. These thoughtful additions truly set Aqua-Vu apart, making their systems incredibly versatile for any "Ice Fishing in Minnesota: Complete Beginner-to-Pro Guide" situation.
How to Maximize Your Underwater Camera's Effectiveness
Just owning an underwater camera isn't enough; you need to know how to use it to its full potential. Think of it like any other fishing tool – a good ice auger or a sensitive rod is only as effective as the angler wielding it. Maximizing your camera's utility means understanding proper deployment, interpreting what you see, and integrating it with your other ice fishing electronics.
Proper Camera Deployment and Orientation
Getting your camera in the right position is key. The most common setup is to place the camera in a separate hole, 1-3 feet away from your fishing hole, allowing you to see your lure and the approaching fish. The goal is to get a clear view of your bait without spooking the fish.
You generally have a few orientation options:
- Down-view: The camera points straight down, giving you a top-down view of the bottom and fish directly below. This is great for identifying structure or seeing if fish are actively feeding on the bottom.
- Side-view/Horizontal: The camera is oriented horizontally, allowing you to scan a wider area for cruising fish and observe their approach from a distance. This is often the preferred mode for seeing how fish react to your lure from the side. Many Aqua-Vu cameras offer easy ways to switch between these orientations, sometimes with a simple clip on the camera housing itself.
- Looking at your bait: The most effective technique is often to orient the camera so it's focused on your lure. This way, you get a direct view of how fish interact with your bait. You might need to adjust the cable length and direction to achieve this perfect view. Using a camera panner, like the Aqua-Vu Mo-Pod 3, makes this much easier, allowing you to fine-tune the view without moving your head or lifting the camera out of the water.
Experiment with these angles based on the depth, clarity, and target species. For example, when jigging for walleye, you might want a horizontal view of your bait, while crappie fishing might benefit from a wider view of a suspended school.
Reading the Screen: Interpreting What You See
Learning to "read" your camera screen is an art. It’s not just about seeing fish; it's about interpreting their behavior and making quick decisions.
- Fish vs. Structure: At first, weeds or submerged logs might look like fish. Over time, you’ll learn to differentiate. Fish move, dart, and often show discernible fins or eyes. Structure remains stationary.
- Fish Mood: This is critical. Are they swimming quickly and erratically, indicating an active bite? Or are they slowly cruising, barely flicking a fin, suggesting they're lethargic? A fish that approaches your lure, noses it, and then backs off is telling you something – maybe your lure is too big, too fast, or the wrong color. If they're just swimming by, they might not be in a feeding mood at all.
- Subtle Bites: This is where cameras truly shine. You’ll see fish inhale a jig or minnow so gently that you’d never feel it on the line. Watch for their mouth opening, a slight movement of your line, or the bait disappearing momentarily. This visual confirmation allows you to set the hook on bites you would have otherwise missed. It’s an absolute game-changer for "How to Catch Walleye Through the Ice in Minnesota" or any other species.
Patience and observation are key. Spend time just watching, even when fish aren't biting, to understand the dynamics of the underwater world in your specific fishing spot.
Integrating with Other Ice Fishing Electronics
An underwater camera isn't meant to replace your other electronics; it's meant to complement them. Think of it as a specialized tool in your arsenal, working in conjunction with your flasher or even advanced units like Garmin LiveScope.
- Flasher First: Many anglers use their flasher (like a Vexilar FLX-28 or a Humminbird Ice Helix, as discussed in "How to Read a Flasher (Vexilar/Humminbird)") to quickly locate fish and identify general depth and activity. Once fish are marked, you can drop your camera down to get a precise visual confirmation. The flasher tells you where they are; the camera tells you what they are and how they're reacting.
- Verifying Sonar Marks: If your flasher shows a suspicious mark near your lure, drop the camera down to confirm it's a fish and not just a piece of debris. This saves valuable time and ensures you're fishing effectively.
- Targeted Fishing: For species like crappie or bluegill, which often suspend in schools, a flasher helps you find the school quickly. Then, deploy the camera into the school to observe lure preference and individual fish reactions, allowing you to fine-tune your "Ice Fishing for Crappie & Panfish" techniques with precision.
- Lure & Bait Checks: Even if you're primarily using a flasher for fish detection, the camera is indispensable for checking your lure's action and presentation. After tying on a new tungsten jig, drop the camera down to see how it looks. Are the minnow's eyes still on? Is the waxworm positioned correctly? This quick check can make all the difference.
By combining the strengths of a flasher's rapid target acquisition with a camera's detailed visual feedback, you create a powerful, multi-sensory approach to ice fishing that dramatically increases your chances of success. It's truly part of the "Best Ice Fishing Electronics for Beginners" toolkit, offering unparalleled insight.
Common Challenges and Troubleshooting Tips
While underwater cameras offer incredible advantages, they aren't without their quirks, especially in the harsh environment of ice fishing. Cold, murky water, and tangles can all present challenges. Knowing how to anticipate and troubleshoot these issues will keep your camera running smoothly and prevent frustration when you're out on the ice.
Dealing with Water Clarity and Lighting
One of the biggest variables for any underwater camera is water clarity. A crystal-clear lake like Ten Mile Lake will provide stunning visuals, but many Minnesota lakes can be murky, stained, or have suspended particulate matter.
- Murky Water: In very turbid water, even the best HD camera will struggle to provide a clear image. The range of visibility will be significantly reduced, sometimes to just a few feet. In these situations, focus on getting the camera very close to your lure, almost touching it, to confirm basic interactions. Don't expect to see fish from 10 or 20 feet away.
- Low Light Conditions: Early morning, late evening, or deep water present low light challenges. Most quality ice fishing cameras come equipped with infrared (IR) or white LED lights. IR lights are generally preferred as they are invisible to fish and won't spook them. White LEDs provide brighter illumination but can sometimes alarm sensitive fish. Experiment to see which works best for your situation. Ensure these lights are turned on when conditions are dim.
- Bright Sun Glare: On sunny days, the reflection off the ice or snow can make it incredibly difficult to see your camera's display. Look for displays with high brightness (nits) and use any built-in sun visors or external shields. Positioning yourself or your shelter to block direct sunlight from hitting the screen can also help immensely. Some anglers even use a piece of dark fabric over their head and the screen to create a makeshift viewing hood.
Remember that a camera is a tool, and like any tool, its effectiveness can be limited by environmental conditions. Adjust your expectations and tactics accordingly.
Battery Management in Cold Temperatures
Batteries and extreme cold do not mix well. Lithium-ion batteries generally perform better than traditional sealed lead-acid (SLA) batteries in the cold, but all batteries will lose efficiency and capacity as temperatures drop.
- Keep Batteries Warm: The best defense is to keep your battery as warm as possible. If your camera system is in a portable shuttle, a small hand warmer placed near the battery compartment (but not directly on the battery) can help. For units outside an insulated shelter, consider wrapping the battery pack in an insulated sleeve or placing it in a separate, insulated bag when not in use.
- Charge Fully: Always start your day with a fully charged battery. A partially charged battery will deplete much faster in the cold.
- Minimize Screen Brightness: Running your screen at maximum brightness constantly will drain the battery much quicker. Adjust the brightness to the lowest comfortable setting that still allows you to see clearly.
- Power Banks: For extended trips, consider carrying a portable power bank, especially for smaller, USB-chargeable camera models. Larger systems might benefit from an extra SLA or lithium battery in your sled.
- Proper Storage: When not in use, store your camera's battery in a cool, dry place, ensuring it's at least partially charged (around 50-70%) to prolong its overall lifespan. Avoid leaving it in a freezing garage for months on end.
Avoiding Snags and Cable Management
The cable is the lifeline of your camera, and it's vulnerable to tangles and damage.
- Clear the Hole: Before deploying your camera, make sure your ice hole is clear of slush and sharp ice shards that could fray the cable. An ice skimmer can help.
- Cable Clips/Reel Systems: Many Aqua-Vu models, especially the Recon and Micro Revolution series, feature integrated cable management systems or reels. Utilize these! They keep the cable neatly coiled and prevent tangles during deployment and retrieval. If your model doesn't have one, consider aftermarket cable clips or a simple cord reel.
- Avoid Weeds and Structure: When fishing in weedy areas or near submerged timber, be extra cautious. Try to orient the camera so it’s looking above the thickest cover, or use a shorter cable length to stay clear. If you do get snagged, gently pull the cable straight up, wiggling it slightly. Avoid yanking aggressively, which can damage the camera or cable.
- Dedicated Hole: While you can sometimes share a hole with your fishing line, it's generally best to use a separate hole for your camera, especially for actively jigging. This prevents your fishing line from tangling with the camera cable and gives you more flexibility in camera positioning.
- Retrieve Slowly: When packing up, retrieve the cable slowly and carefully, coiling it neatly as you go. This prevents kinks and makes it easier to deploy next time. A well-maintained cable will last much longer and cause fewer headaches. This careful approach is part of the best practices for handling any of your "Best Ice Fishing Gear for Minnesota (2026 Guide)".
Disclaimer
The information provided in this guide is for general informational purposes only and does not constitute professional advice. Fishing regulations, season dates, and limits are subject to change by the Minnesota Department of Natural Resources (DNR). Always consult the official Minnesota DNR fishing regulations handbook or website before heading out on the water. Following all local, state, and federal laws and regulations is the responsibility of the angler. Fishing carries inherent risks, and safety precautions should always be observed.