Best Budget Ice Fishing Setup Under $200
Oh, the dream of cutting a hole in the ice, dropping a line, and reeling in a feisty walleye or a stringer of crappies! It’s a classic Minnesota winter pastime, but if you’ve ever started looking into ice fishing gear, you know how quickly the costs can stack up. It can feel like you need to take out a second mortgage just to get on the ice, which is incredibly frustrating for anyone just wanting to try it out without breaking the bank. But don't you worry, because building an effective, budget-friendly ice fishing setup for under $200 is totally achievable, and this guide is going to walk you through exactly how to do it.
The Absolute Essentials for Minnesota Ice Fishing
Before we dive into shopping, let's strip it down to what you absolutely need to get on the ice safely and effectively in Minnesota. There’s a lot of fancy gear out there, but trust me, you can have a blast and catch plenty of fish with a minimalist approach. The goal here is functionality and safety without the frills.
Staying Warm and Safe on the Ice
This isn't just about comfort; it's about survival. Minnesota winters are no joke, and being unprepared can turn a fun day into a dangerous one very quickly. Your clothing budget is critical, even if it means sacrificing some of the fancier fishing gadgets initially.
- Layering is King: Forget about one giant, expensive ice fishing suit to start. Think layers. You probably already own most of what you need: thermal underwear, a good fleece layer, a warm jacket, waterproof outer shell (ski pants/jacket work great), thick wool socks, and insulated waterproof boots. A good pair of winter boots, like something from Sorel or similar, can make all the difference in keeping your feet warm and dry. Don't forget a warm hat and gloves. You’d be amazed how much warmth you can retain just by layering strategically.
- Safety First, Always: Ice picks are a non-negotiable item, even on the safest-looking ice. They could save your life if you ever go through. A whistle can also be crucial for signaling for help. Beyond that, a basic first-aid kit is always a good idea, and knowing the ice conditions is paramount. Always check local ice reports or ask at bait shops.
The Tools to Get to the Fish
Once you’re dressed for success and safe, you need the means to actually fish. This involves creating a hole, having a way to fish through it, and a basic understanding of what’s below.
- Manual Ice Auger: Forget those expensive electric or gas augers for now. A good old-fashioned hand auger is your budget hero. They are lightweight, reliable, and with a sharp blade, they cut through a surprising amount of ice quickly. Brands like Eskimo or Strikemaster offer excellent manual augers that often come in well under $100. A 6-inch or 8-inch model is perfect for panfish and even smaller walleyes. You'll get a workout, but it's part of the experience! If you're looking to upgrade later, perhaps after you've caught the bug, then exploring options like a "Best Hand Auger vs Electric Auger for Minnesota" might be a good next step.
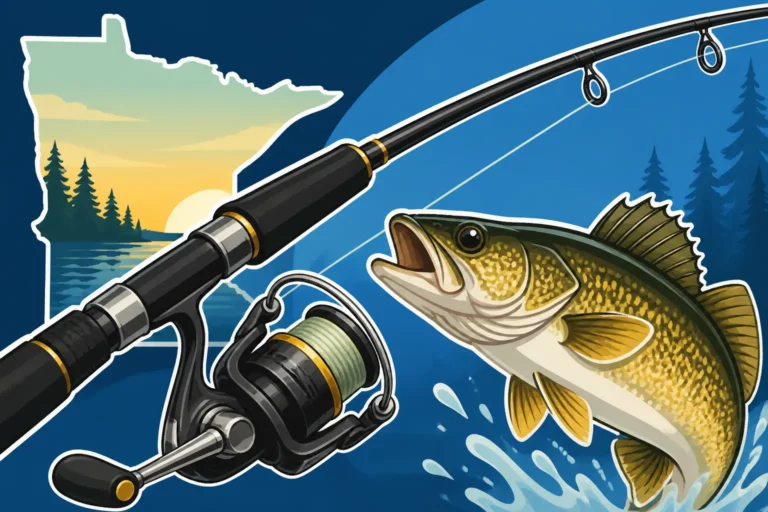
- Rod, Reel, and Line: You don't need a dozen rod combos. One good, versatile ice fishing rod and reel combo will do wonders. Look for a medium-light or medium action rod, around 28-32 inches long, which is versatile enough for both panfish and walleye. Pair it with a small spinning reel (size 500 or 1000). Spool it with 4-6 lb monofilament or fluorocarbon line. Monofilament is typically cheaper and offers good knot strength. Many tackle shops, including larger retailers like Bass Pro Shops, offer decent combos for $30-$50.
- Basic Tackle Box: A small, organized tackle box with a few essential jigs and baits is all you need. Think a handful of small tungsten jigs (1/32 to 1/16 oz) for panfish, a few larger jigging spoons or small Rapalas for walleye, and maybe some soft plastics like Maki Plastics or VMC's Tingler Spoons. Live bait, like wax worms or small minnows, is incredibly effective and budget-friendly.
Smart Shopping Strategies for an Affordable Setup
Sticking to that $200 budget requires a bit of savvy shopping and being realistic about what you truly need. Don’t fall for the marketing hype promising you’ll catch more fish with the latest gizmo. Fundamentals win, especially for beginners.
Hunting for Deals and Used Gear
The beauty of the fishing world is that gear changes hands often. People upgrade, get out of the sport, or simply have too much stuff. This is your opportunity!
- Off-Season Sales and Online Marketplaces: The best time to buy ice fishing gear is often in the spring or summer when retailers are trying to clear out winter stock. Keep an eye out for clearance sales at local tackle shops or larger stores like Bass Pro Shops and even online on Amazon. Don’t underestimate the power of local online marketplaces, either. Facebook Marketplace and Craigslist are goldmines for used ice fishing gear. You can often find perfectly good hand augers, portable shelters, and rod combos for a fraction of their new price. Just be sure to check the condition of anything you buy used – especially auger blades.
- Leveraging Multi-Packs and Starter Kits: Sometimes, buying a starter kit, while not always the absolute cheapest, can offer better value than buying each component individually. Look for combo packs that include a rod, reel, and a basic selection of tackle. Similarly, many brands sell multi-packs of jigs or soft plastics, which can be more economical than buying individual pieces.
Prioritizing Needs Over Wants
This is where discipline comes in. When you're trying to stay under a tight budget, every dollar counts. Think about functionality above all else.
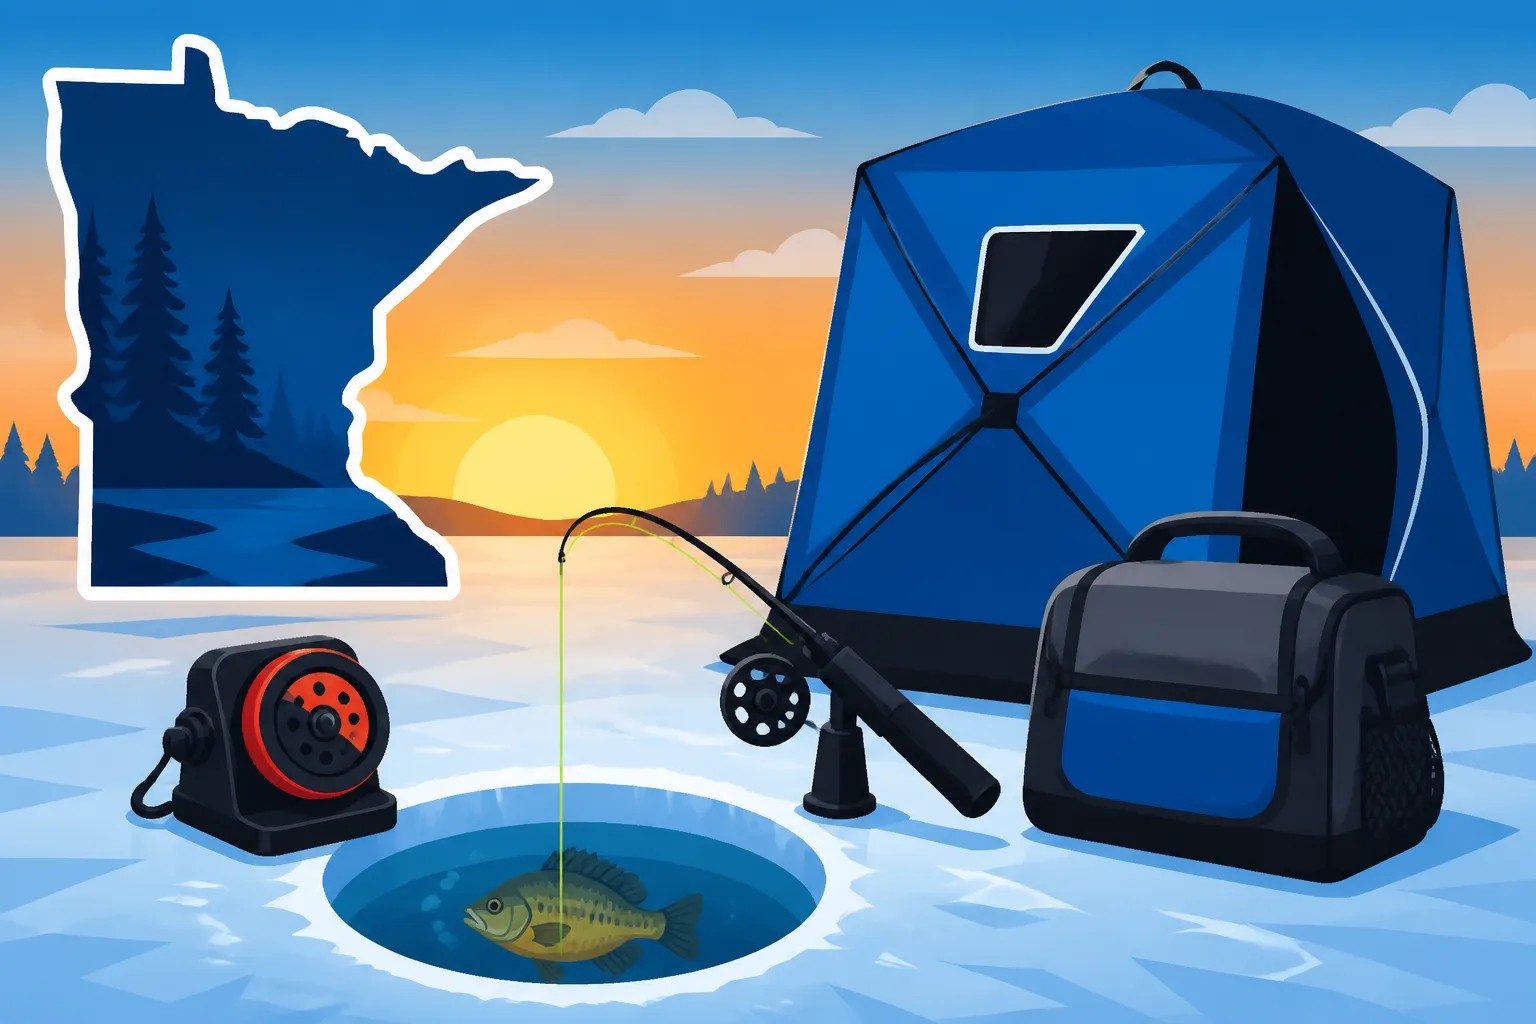
- Shelter Alternatives: A fancy flip-over or hub-style shelter is great, but it's a big budget item. To start, consider a five-gallon bucket with a padded lid for seating, which also doubles as a carrier for your gear. You can even rig a simple tarp as a windbreak if conditions are particularly brutal. Many seasoned ice anglers started this way, and honestly, a bucket provides a good base for your gear and a place to sit. Remember, the goal is to get out there and enjoy the experience, not to have the fanciest setup.
- Electronics: Start Simple or Delay: High-end flashers and forward-facing sonar like Garmin LiveScope are amazing tools, but they will blow your $200 budget instantly. For a beginner, simply using a weighted line or even a basic fish finder app on your phone (if you have one) can give you a decent idea of depth and bottom contour. Many budget-friendly portable fish finders can be found for under $100 if you absolutely want a dedicated unit, or you can consider borrowing a friend's flasher for your first few outings. Trust me, you can still catch plenty of fish without them. Learning to read the ice and understanding how to target fish using simple methods is a critical step that many anglers overlook in their rush to acquire expensive gear.
Assembling Your Budget Ice Fishing Kit: Item by Item
Let's put this all together and see how we can build a functional kit without breaking the bank. These are approximate prices, and smart shopping will make a big difference.
The Core Gear Breakdown
Here's a look at how your budget might shape up for the absolute necessities.
| Item Category | Specific Item | Estimated Budget Cost | Notes |
|---|---|---|---|
| Hole-Making | Manual Ice Auger (6-8 inch) | $60 – $80 | Eskimo Hand Auger, Strikemaster Mora. Look for sales or used. |
| Fishing Tools | Ice Rod & Reel Combo (Med-Light) | $30 – $50 | Many brands offer combos. Look for a sensitive rod. |
| Fishing Tools | Monofilament/Fluorocarbon Line | $5 – $10 | 4-6 lb test. Small spool. |
| Terminal Tackle | Basic Jigs & Spoons | $15 – $25 | Tungsten jigs, small jigging spoons (e.g., Rapala Jigging Rap knock-offs). |
| Terminal Tackle | Live Bait (Waxworms/Minnows) | $5 – $10 | Essential for success, buy fresh per trip. |
| Safety & Comfort | Ice Picks | $10 – $15 | Non-negotiable safety item. |
| Safety & Comfort | 5-Gallon Bucket + Padded Lid | $10 – $20 | Doubles as seat, gear carrier, and minnow bucket. |
| Safety & Comfort | Basic Gear Bag/Backpack (optional) | $0 – $15 | Use an old backpack, or rely on the bucket. |
| Total Estimated Cost | $135 – $225 | Aim for the lower end with smart shopping! |
As you can see, by being smart and focusing on the absolute essentials, hitting that under-$200 mark is completely within reach.
Building Out Your Rod and Reel Arsenal
While we’re starting with one versatile combo, it’s worth understanding the options. Different "Best Ice Fishing Rods for Walleye & Panfish" are available, but for a tight budget, versatility is key.
- The All-Arounder: That 28-32 inch medium-light or medium action rod is your workhorse. It has enough backbone to handle a decent walleye but enough sensitivity to feel a crappie nibble. A solid graphite blank will offer good sensitivity without costing an arm and a leg. When spooling your reel, consider a good quality 4lb monofilament line, which is forgiving and handles cold well.
- Tackle Selection: For panfish, think small tungsten jigs tipped with a wax worm, a Berkley Gulp! Alive! maggot, or a small plastic tail. For walleyes, a larger spoon, like a classic Northland Buck-Shot Rattle Spoon, or a jigging rap in a walleye-attracting color like chartreuse or firetiger, tipped with a minnow head, is often deadly. Don't forget swivels to prevent line twist, especially when using spoons.
Understanding Your Portable Shelter Options
As mentioned, a bucket is your primary seating and gear transport. However, a little protection from the elements can greatly improve your experience.
- The Bucket Brigade: This is truly the most budget-friendly option. A sturdy five-gallon bucket can hold your auger, tackle, and even a small cooler for your fish. Add a padded seat lid, and you have a comfortable spot to sit and jig. It’s light, easy to transport, and costs next to nothing if you already have a bucket around.
- DIY Windbreak or Emergency Shelter: For minimal investment, you can create a simple windbreak using an old tarp, some bungee cords, and a couple of stakes. It won't be heated, but it'll block the brutal Minnesota winds, making a huge difference in comfort. If you scrounge well, this can cost you under $10. These solutions are perfect when you're just learning "Ice Fishing in Minnesota: Complete Beginner-to-Pro Guide".
Beyond the Basics: Smart Upgrades for Future Trips
Once you’ve experienced the thrill of ice fishing and confirmed it's a passion, you might consider some upgrades. But even then, you can be smart about it, keeping the budget mindset.
Gradual Enhancements to Your Kit
You don't need to buy everything at once. Each season can bring a new addition.
- A Better Flasher: If you find yourself consistently ice fishing and wanting to improve your catch rates, a budget-friendly flasher unit like a Humminbird Ice 35 or an entry-level Vexilar can be a game-changer. These units typically run $200-$300 new but can often be found used for significantly less. They really help you see fish and your lure in the water column, making you a much more efficient angler. Understanding "How to Read a Flasher (Vexilar/Humminbird)" will quickly become an invaluable skill.
- Small Portable Shelter: After a few trips battling the wind, a small, one-person portable hub shelter might seem like a luxury you can justify. Brands like Clam or Eskimo make compact, lightweight hub shelters that offer surprising warmth and protection for under $150-$200, especially if you catch them on sale. These are also great for solo missions or if you're exploring new "Ice Fishing for Walleye: Tactics & Setups" in different areas.
- Dedicated Panfish Rod: If you find yourself targeting crappies and sunfish more often, a super-sensitive ultra-light rod will make a huge difference in detecting those light bites. You can often find decent ones for $20-$30. This specialization is a natural progression as you spend more time on the ice. Also, check out "Best Tungsten Jigs for Panfish" as a good upgrade for these lighter setups.
Embracing the Experience, Not Just the Gear
Remember, the best memories made on the ice rarely revolve around how much your gear cost. It’s about the crisp air, the camaraderie, the quiet anticipation, and the thrill of a biting fish. I've had some of my best days on the ice with nothing more than a bucket, a hand auger, and a single rod.
As you become more experienced, you'll naturally learn about different species like those featured in "Ice Fishing for Crappie & Panfish" or "Ice Fishing for Perch in Minnesota," and your gear choices will evolve. But starting cheap ensures you don't invest heavily in a hobby you might not stick with, while still allowing you to fully enjoy the incredible Minnesota ice fishing scene. Just make sure you understand the rules, like "How Many Lines Can You Use Ice Fishing in Minnesota?", to keep your experience legal and enjoyable!
Disclaimer
The information provided in this guide is for general informational purposes only and does not constitute professional advice. Fishing regulations, ice conditions, and safety practices can change rapidly. Always consult the latest Minnesota Department of Natural Resources (DNR) regulations and local ice conditions before venturing out. Ice fishing can be dangerous; always prioritize safety and never fish alone.